Friday, October 23, 2015

Nature- inspired projects

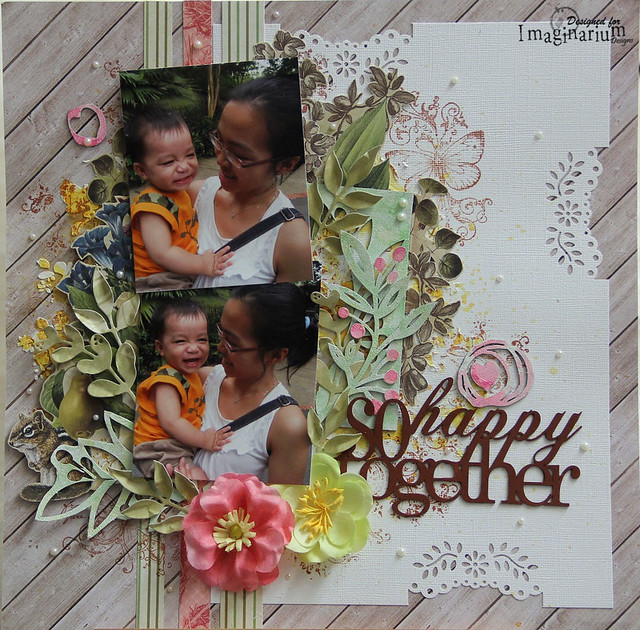
Hi, everyone. Today over at Imaginarium Designs, I'm sharing 2 projects that are greatly inspired by our family's "outing" to Bishan-Ang Mo Kio Park.

We explored the park, the bridges,the ponds, the long and small "river" and of course the wildlife. We wanted to spot the family of otters there but alas... they are nowhere in sight.. Definitely going back again as my boy is persistent about finding them. And we spent few hours there walking from one end to the other till our feet are sore. But to our surprise , the park is divided into 2 parts by a road and we have only explored one part. So... going back again.

Here's some pictures of the park:


I only took afew pictures and hey.... my photography skill is so so only.. can't capture the pretty park. :) But the walk really clear my head and inspire me to do 2 nature themed projects: a layout and a canvas.

"So Happy Together"

"So Happy Together" Layout

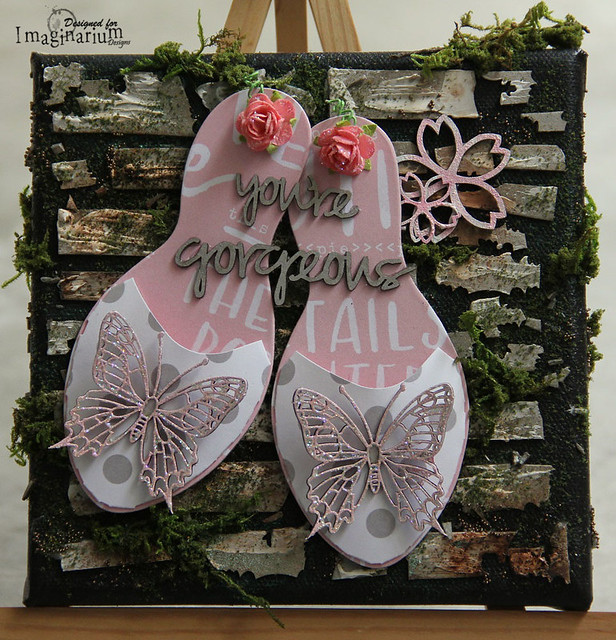
"You're Gorgeous" Canvas

"You're Gorgeous" Canvas

I have done a step by step tutorial for the canvas over at Imaginarium Designs. Do hop over for more pictures and more details of these 2 projects.

And do leave a comment over at Imaginarium Designs blog to stand a chance to win a pack of chipboards. Have fun.

Thanks for dropping by.

Monday, October 19, 2015

Calligraphy Craze

Hi, I'm here again. Wanted to share about my recent "new" hobby. Its Modern Calligraphy. I have learnt the basics of calligraphy during my secondary years. I believe the font we learnt is foundational hand. The very simple, non-curvy writing.

Recently I attended a Modern Calligraphy workshop and fell in love with calligraphy again. Being a craft hoarder, yes... I started hoarding calligraphy supplies. LOL. Now I got many bottles of liquid acrylic inks, calligraphy inks and fountain pen inks and of course the writing tools and many different nibs. And I'm amazed by the many many numbers of brands and models and shapes of nibs. It really open my eyes and made me very curious about them.

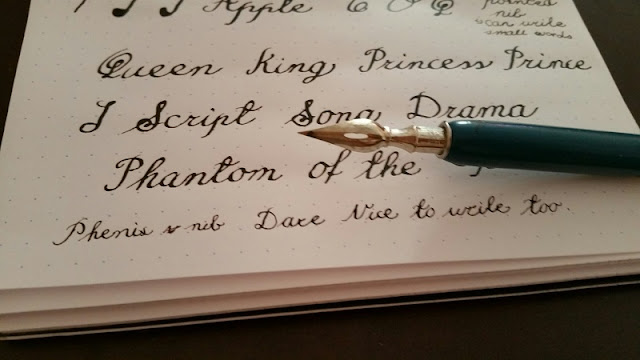
Here's a sample of my writing practice:

Foundational Hand:


I wrote 2 peoms by Cicely Mary Barker in what i believe to be foundational hand font. Wrote with my Manuscript fountain pen.

Modern Calligraphy that I learnt:

This is written with my Nikko G nib, a harder nib for beginner.

Wrote this with my Manuscript fountain pen. Realised that I can use this type of flat and non flexible nib to write curvy too. Just need to adjust the angle of paper. From the calligraphy workshop, I was given 2 type of nibs: Nikko G nib and Leonardt Hiro 41 flex nib (this nib require more control).

With this I started to explore different fonts and also acquire different nibs. Some nibs are for certain fonts. Like the Banzug nib (flat and broad) is more suitable for Gothic, Batarde etc font. I'm very curious and excited to know about the different nibs and the different fonts. Its so much fun exploring and learning. To date, I got total 13 different nibs. And here's some of what I have written with these nibs:


Wow. This is a long post. But really the calligraphy world is exciting and interesting. And I'm only a beginner. Theres so much to learn and master.

With the many nib holders and Manuscript pens I have, I also sewn myself one fabric holder to store them. Its done using a $2 Daiso fabric place mat. I only fold the top down and bottom up and sew them into small 'pocket inserts' (as shown in picture). I love this fabric place mat. It reminds me of Cath Kidston fabric. Also put in a Eiffel tower charm.


Pardon my messy sewing. Also a beginner in sewing. LOL. seems like I'm beginner in alot of stuff. But it's fun. So don't hesitate to pick up any new hobby. You never know till you try.

Have fun. Hope you enjoy my sharing.

Thanks for visiting.
Wednesday, October 14, 2015

Watercoloring

Hi, everyone. It's been some time since I blog about my watercoloring projects. Though I have not blog, I still watercolor occasionally. Here's what I have watercolor.

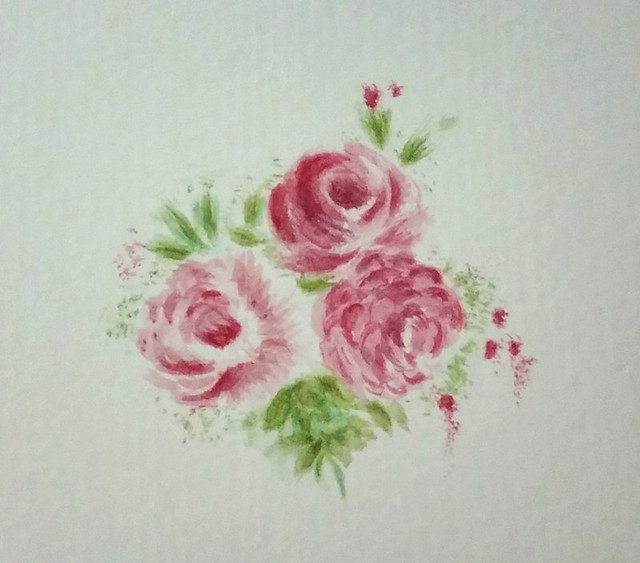
Floral1

Inspired by my friend, I drew and watercolor this set of roses from scratch. But I think I made a mistake in the bunch of leaves at the bottom. LOL.

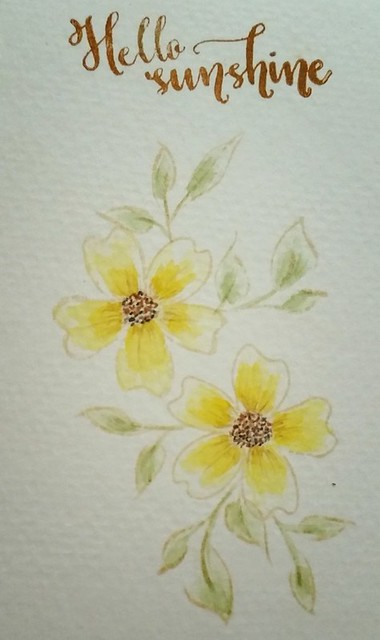
Floral2

My second set of watercolor floral is done on stamped image. The flowers and leaves are from 2 different stamp sets. I stamped them with distress ink so they are more subtle.

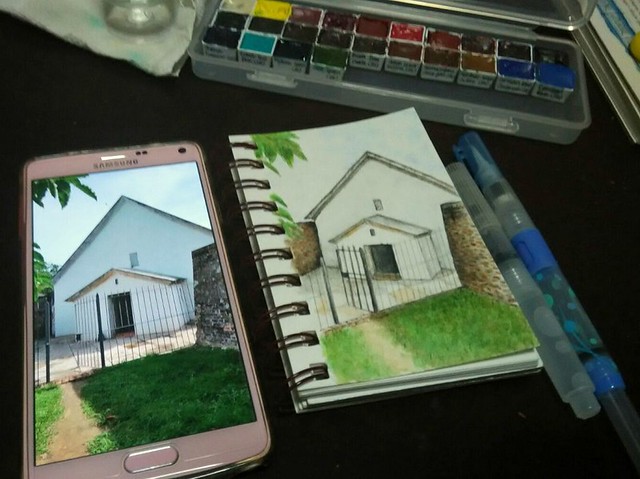
Penang Cornwallis Chapel

I sketch this chapel in Fort Cornwallis, Penang in June. But I only watercolor it recently. Good thing I took a picture of the chapel. Not 100% alike but I guess it will do for now. My first "urban sketching" piece. I hope to learn about urban sketching and join the local urban sketchers group. A goal I set and hope to achieve before I grow too old to walk. LOL.

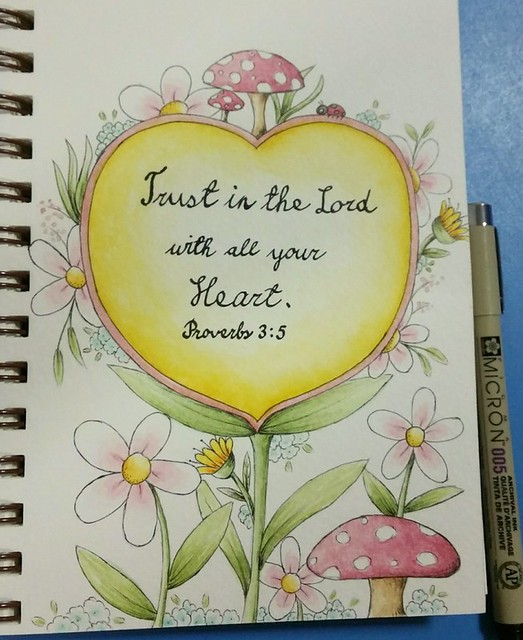
I have more watercoloring projects to share with you. Recently I started a bible verses watercoloring journal. One page will be the picture I watercolor with the verses and behind the page will be my own bible study notes. Hoping this will help me better in studying the word of God and at same time hone my watercoloring skills. But again I hope not to put too much pressure on myself. So it will be ad hoc sharing as and when I'm done with a piece. Please bear with me if you are not a believer. I'm only going to share about the watercolor piece and not the study notes. :)

"Trust In The Lord"

"Trust In The Lord"

Oh.. Have I shared that lately I dive into the calligraphy world? Yap.. I learnt the foundational hand writing in secondary school. Recently I attended a modern calligraphy class with my dear friend. And I started writing and practising. Will share more in next post.
Thanks for dropping by. Hope I didn't bore anyone down. Have fun.

Sunday, October 11, 2015

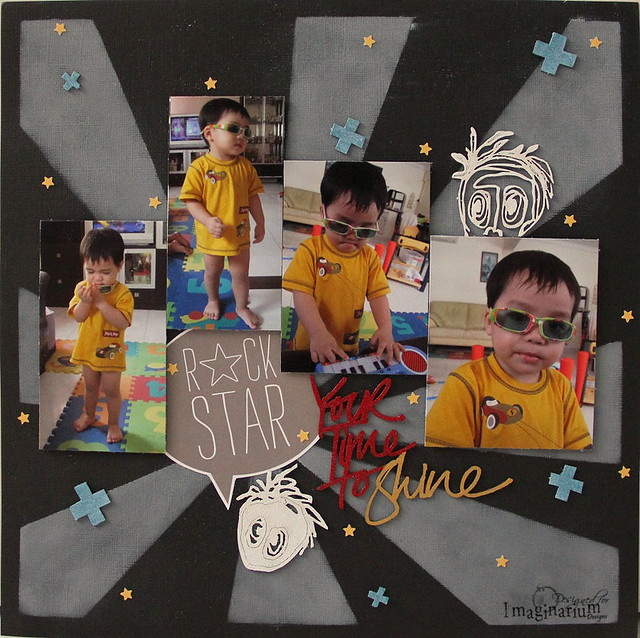
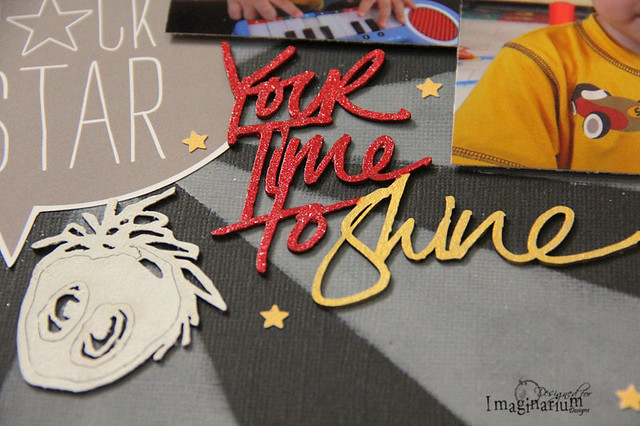
"Your Time To Shine" Layout

Hi, I'm here again. Sharing a layout that I made for Imaginarium Designs. This month's theme is focused on Boys! So I made this layout for my boy. It documented his "rock star" moment when he was younger. Love his cheekiness.

"Your Time To Share"

"Your Time To Shine" Layout

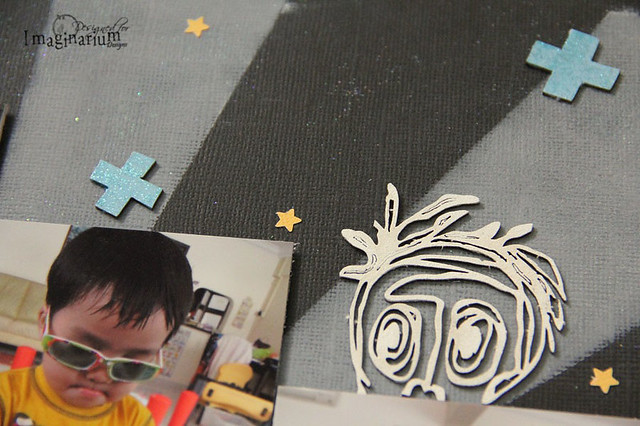
Isn't my boy cute?? LOL. I used white chalk ink over a stencil to create the rays. And I randomly rub some glitter glue over the whole background. But think its not that visible to capture in camera.

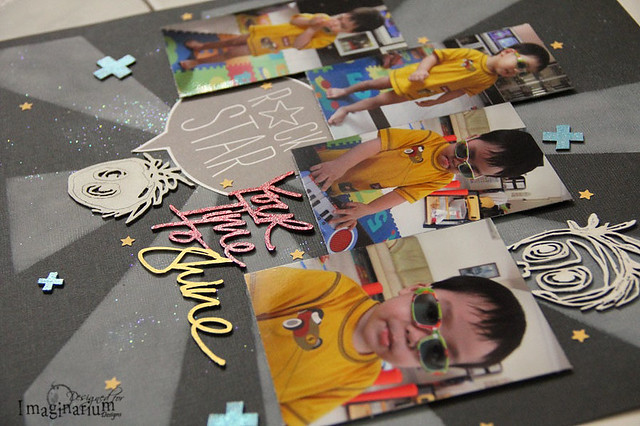
"Your Time To Shine" Layout

Here you can catch a glimpse at the glittery background.

"Your Time To Shine" Layout

For the chipboard title, I painted the first 3 words with red acrylic paint and red glitter paint and the word Shine with gold paint. For the faces chipboards, I simply gesso them.

"Your Time To Shine" Layout

For the cross chipboards, I painted them with blue acrylic paint and blue glitter paint. The glitter paints dried transparent with respective color glitters hence there is a need to paint the chipboards with the same acrylic paint colors first. Love the shine on them. I also punched some tiny yellow stars and adhered them randomly across page.

The chipboards I used today are all new designs by Imaginarium Designs. Hope you enjoy reading about my project.

Do hop over to Imaginarium Designs to have a look at what my fellow team members have created. Have fun.

Thanks for dropping by.


Saturday, October 10, 2015

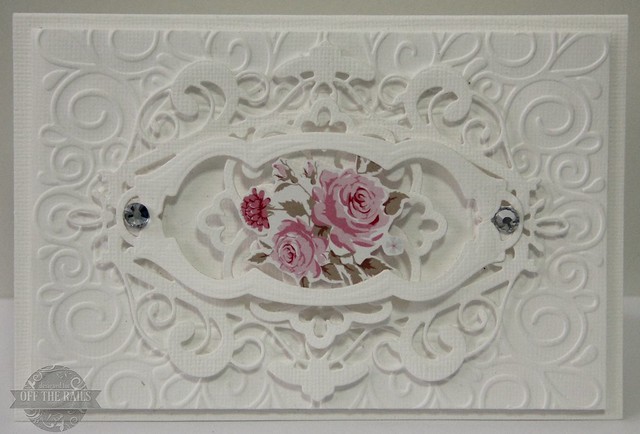
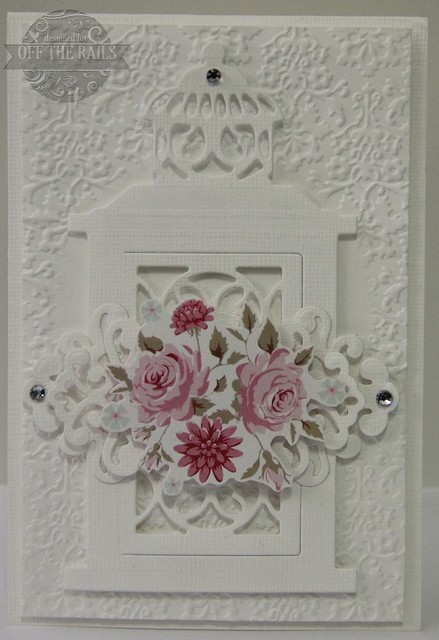
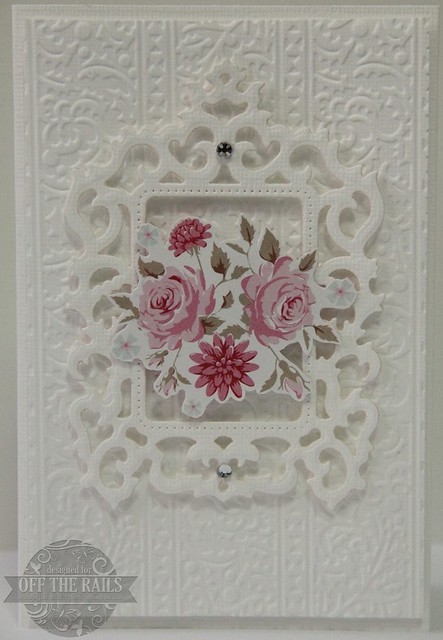
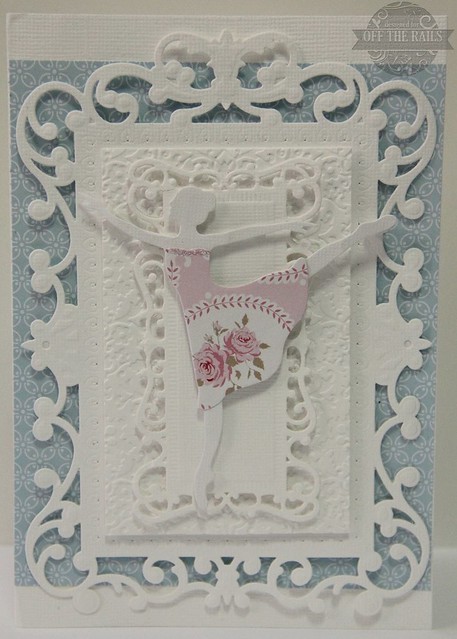
"White Floral & Ballerina" Cards

Hi, everyone. Today over at Off The Rails Scrapbooking I'm sharing 4 cards that I made. Do hop over to have a look. And do join us in our montly challenge. Here's what I have made:

"White Floral" Card 1

"White Floral" Card 2

"White Floral" Card 3

"White Ballerina" Card

I love white. Its such a easy color for mix and match elements. Hope you like my projects. Do hop over to Off The Rails Scrapbooking to join in our monthly challenge. Our sponsor this month is Lawn Fawn. Have fun.

Thanks for dropping by.

Thursday, October 1, 2015

OTRS - October Challenge

Hi, friends. It's time for another mood board challenge over at Off The Rails Scrapbooking. Here's this month's mood board:

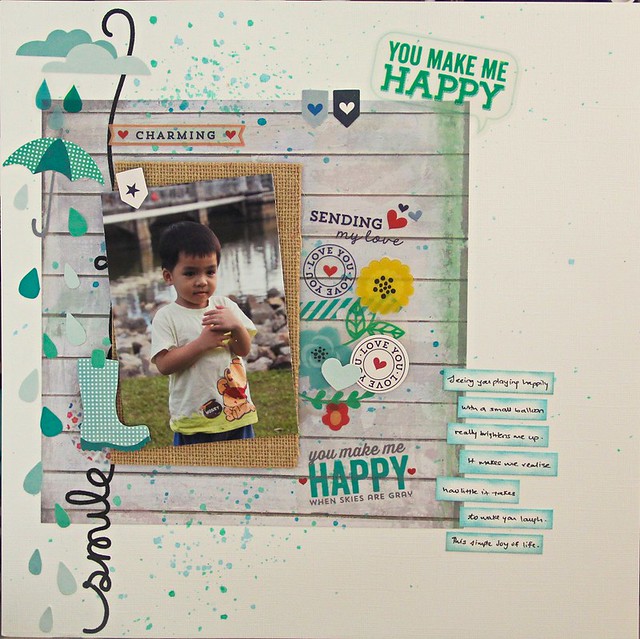
I love the colors of this mood board. So soothing and calming. Other than this mood board, another requirement is to use Paint Or Inks. And here's what I have made.

"Smile, You Made Me Happy"

"Smile, You Make Me Happy" Layout

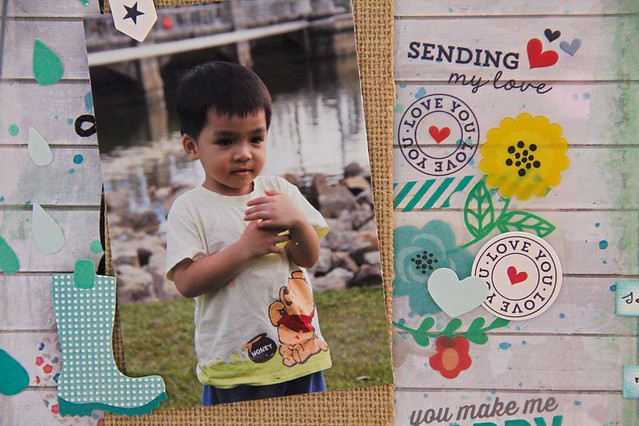
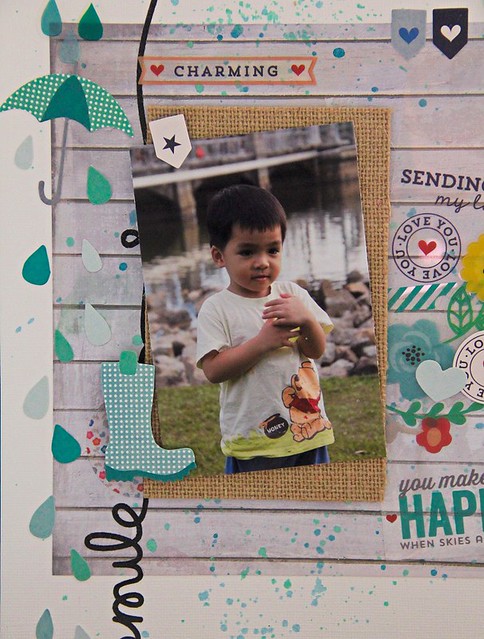
Done a simple layout again. Love this picture of my boy playing with a small balloon at Lower Pierce Reservoir. After adhere down the patterned paper, I used blue and turquoise mists to make splatters. Pop up the burlap paper and photo with foam tapes and adhere down all the Pink Paislee ephemera. The Smile swirl is actually a sticker. I used it and the raindrops to create a horizontal border.

"Smile, You Make Me Happy" Layout

Love how easily and non bulky it is to layer the different ephemera to create interest.

"Smile, You Make Me Happy" Layout

Pop up the rain boots and tag (above picture) with foam tape again.

"Smile, You Make Me Happy" Layout

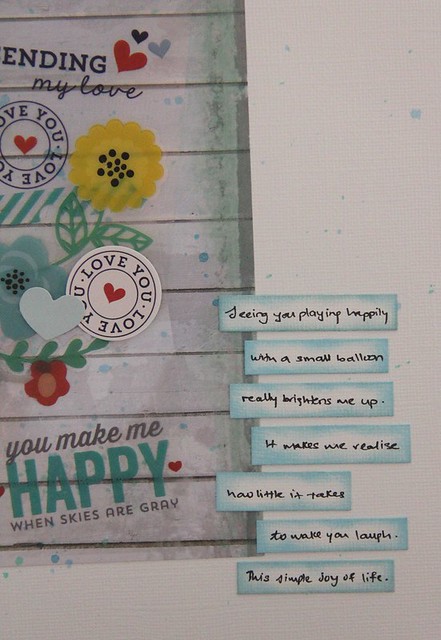
I wrote the journaling on strips of white cardstock and ink sides with distress ink.

This is such a easy and fast layout to do. Hope you enjoy my sharing. Do join us in this month's challenge over at Off The Rails Scrapbooking.

(note: I made some mistakes in the first batch of photos (reflected in OTRS blog) for this layout and they look grainy. These are retook today. Time to go learn some photography skill. :P)

Thanks for dropping by.