Showing posts with label Tutorials. Show all posts

Monday, September 17, 2018

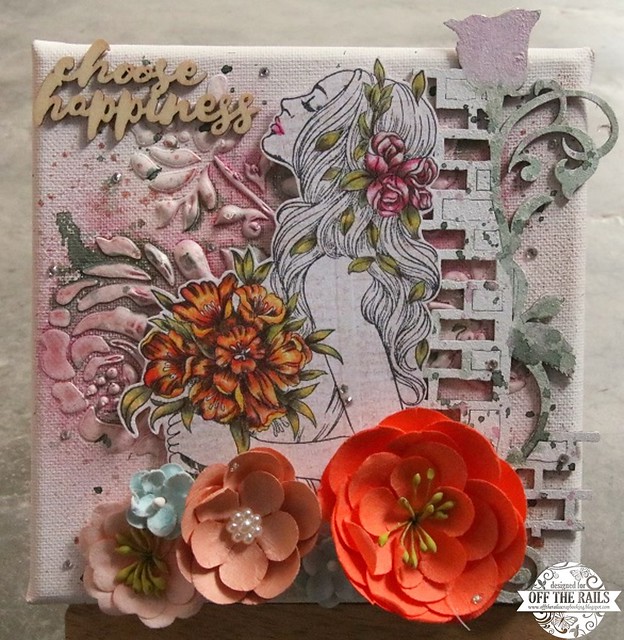
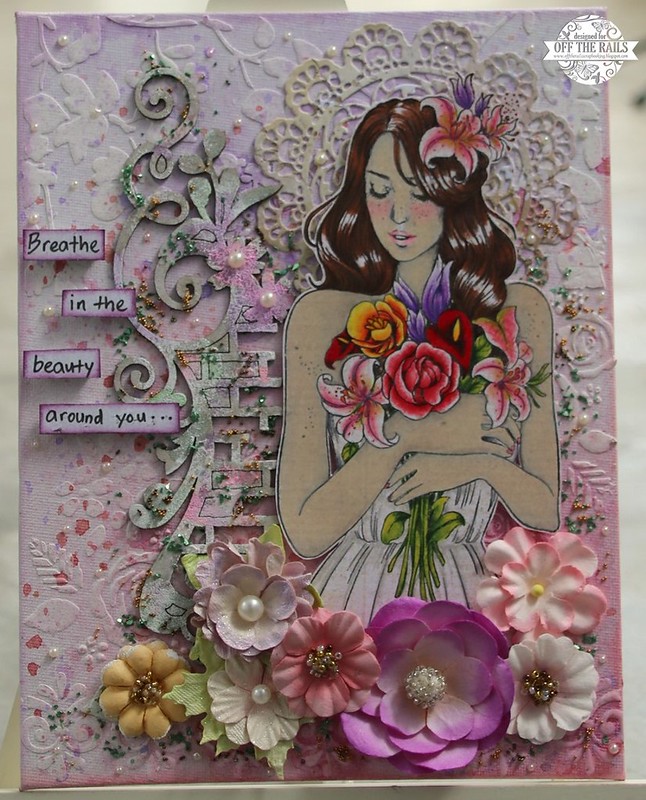
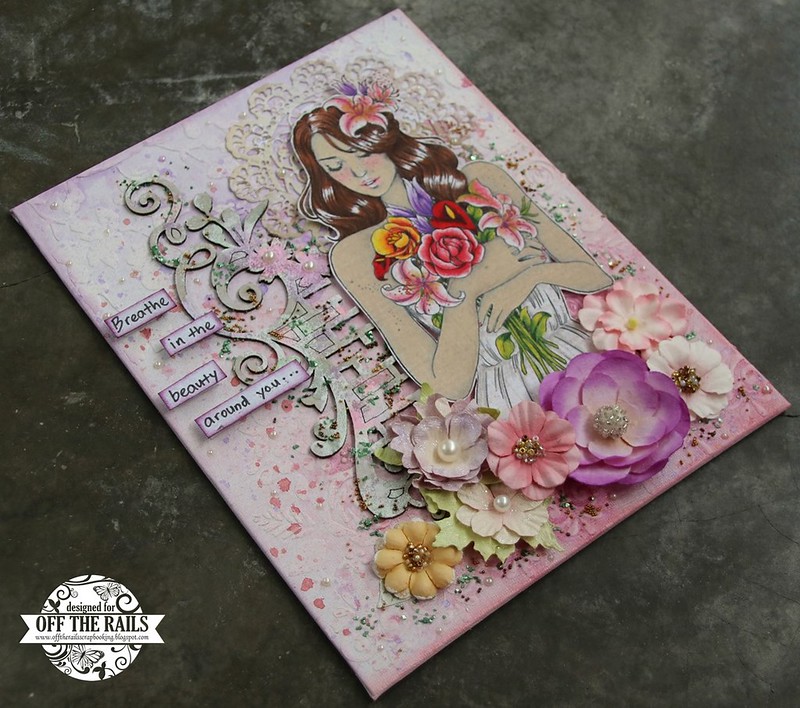
"Chose Happiness" Mixed Media Canvas - OTRS

Hi, everyone. This month at Off The Rails Scrapbooking, I made a mixed media canvas video tutorial. Do hop over to have a look at the video.

"Chose Happiness" Canvas

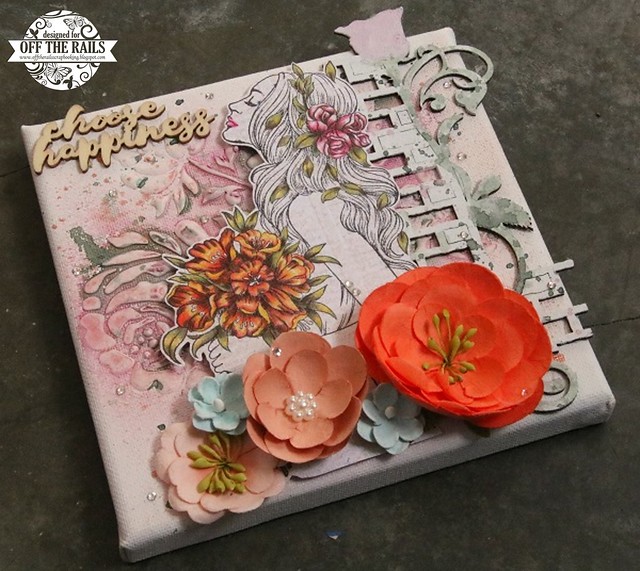
"Chose Happiness" Mixed Media Canvas

"Chose Happiness" Mixed Media Canvas

Do join us for this month's Moodboard Challenge as well over at Off The Rails Scrapbooking. Have fun.

Thanks for dropping by.


Tuesday, March 13, 2018

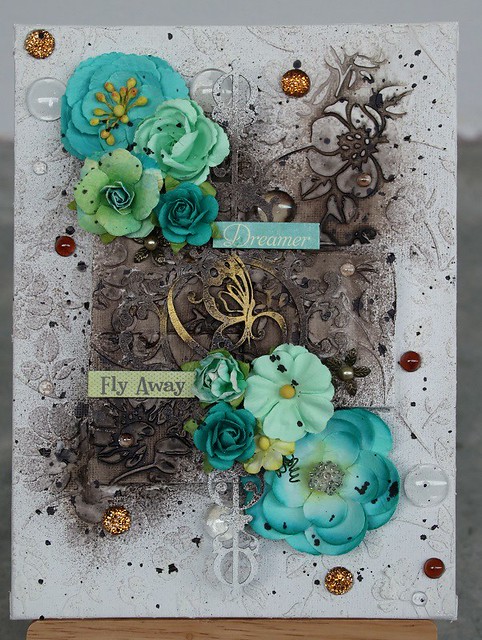
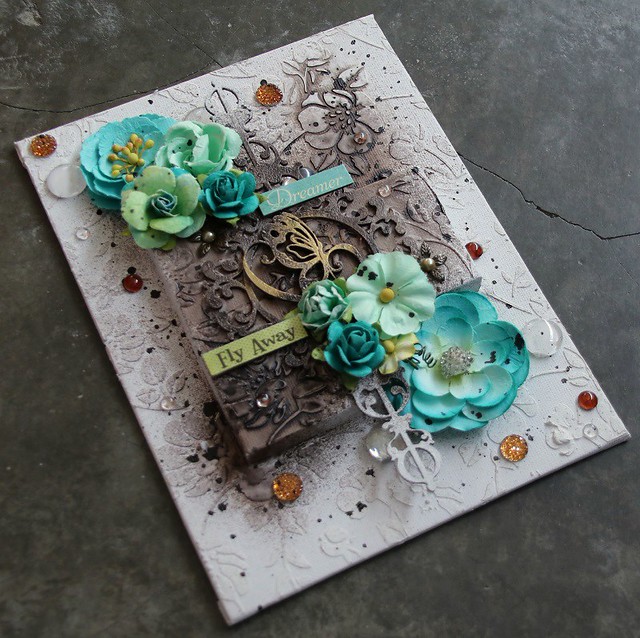
"Dreamer, Fly Away" Mixed Media Canvas & 2 Cards

Hi, everyone. Today I'm sharing about 2 cards and a mixed media canvas projects at Off The Rails Scrapbooking. I also did a video tutorial for the mixed media canvas so do hop over to watch. And do join us for our monthly moodboard challenge. I love this month's moodboard. Black & White with a color  of your choice.


"Special Card Reveal"

This month we have a special card reveal at our blog here. I made 2 cards using this month's moodboard.

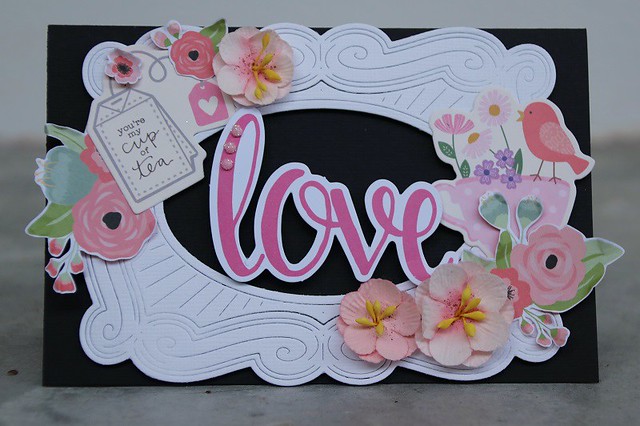
"Love" Card

"Love" Card

One is a easily put together card with stickers and diecut ephemera.

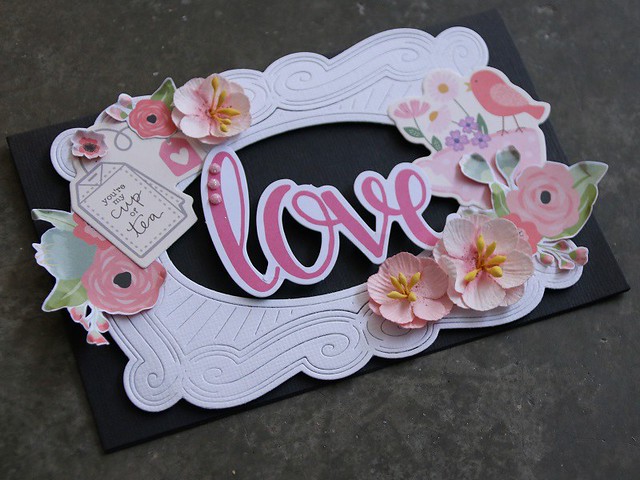
"Love" Card

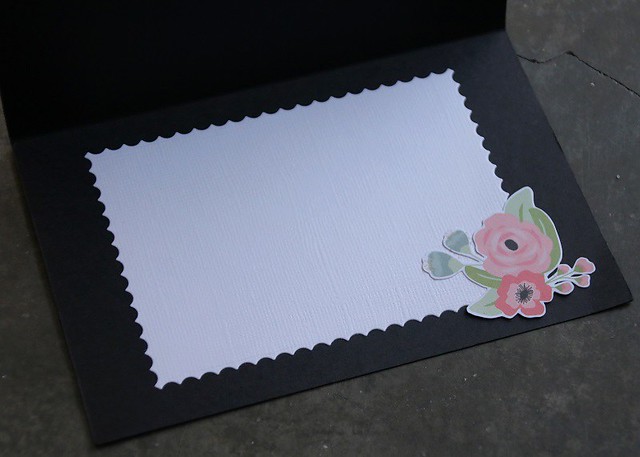
"Love" Card - inside

For the inside of the card, I adhered a negative cut out that I saved from a scalloped edge frame diecut.

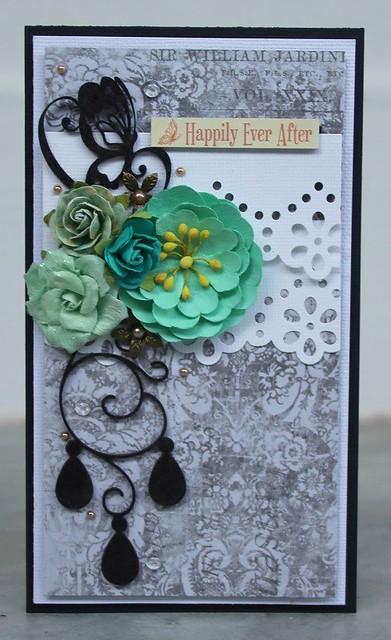
"Happily Ever After" Card

"Happily Ever After" Card

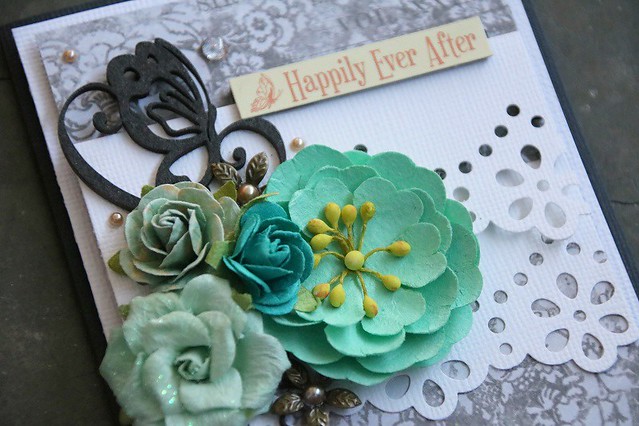
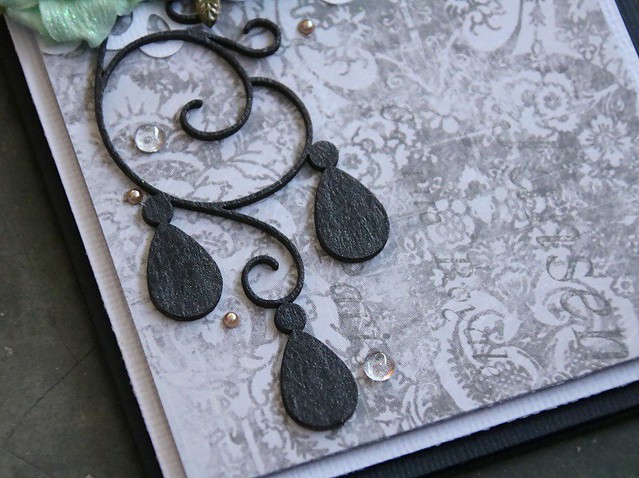
The other card is inspired by my mixed media canvas. So you can see the similarities in design and color. I painted the butterfly and ornament chipboards with black shimmery acrylic paint. But from the picture can't really see the shimmery.

"Happily Ever After" Card

"Happily Ever After" Card

"Dreamer, Fly Away" Mixed Media Canvas

Finally time to reveal my mixed media canvas....

"Dreamer Fly Away" Mixed Media Canvas

"Dreamer Fly Away" Mixed Media Canvas

Do hop over to Off The Rails Scrapbooking for more closed up pictures and my video tutorial.

I hope you enjoy my sharing and join us for our challenge. Have fun.

Thanks for dropping by.

Saturday, June 10, 2017

Prima Princess Gabrielle Mixed Media Canvas

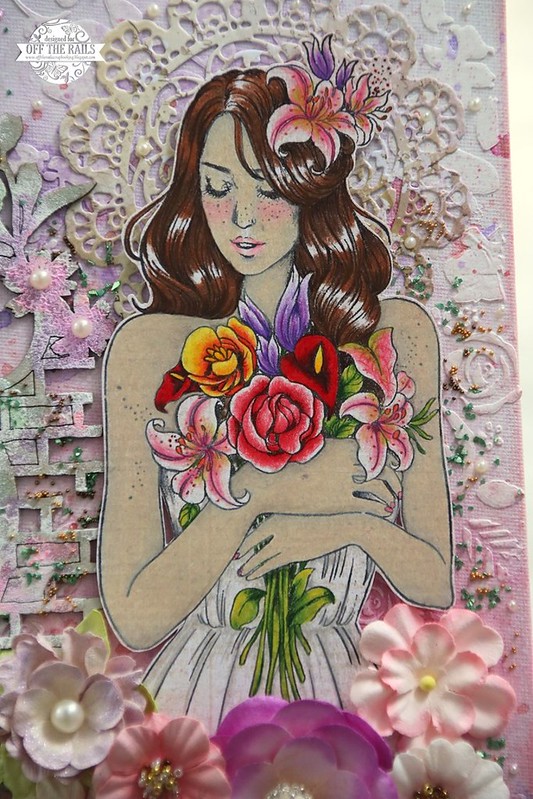
Hi, everyone. I created a mixed media canvas for Off The Rails Scrapbooking DT using Prima Princess Gabrielle stamp. Love all the Princesses stamps by Prima Marketing Inc.

"Princess Gabrielle Mixed Media Canvas"

"Princess Gabrielle Mixed Media Canvas"

"Princess Gabrielle Mixed Media Canvas"

I have included a pictorial tutorial for creating this canvas, over at Off The Rails Scrapbooking Blog. Do hop over to have a look.

"Princess Gabrielle Mixed Media Canvas"

This will be my last assignment for Off The Rails Scrapbooking this year as I'm taking a half year break. Will be back next year though. Been so busy lately this year as its an important year for my girl in her education. I have to spend more time with her. I will still be crafting on my own but its less of doing it to meet deadline etc...

I will try my best to share about my leisure crafts here during this break but no gurantee... :P

Thanks for dropping by. Do join us for the June Moodboard Challenge over at Off The Rails Scrapbooking. Have fun.

Monday, November 23, 2015

Imaginarium Designs : Shabby Chic projects

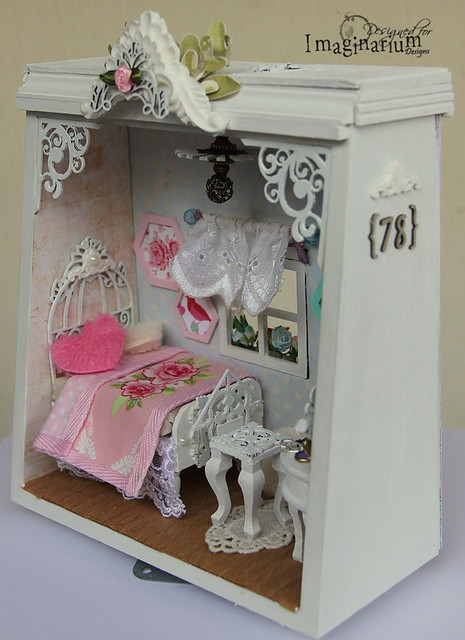
Hi, everyone. Today over at Imaginarium Designs, I'm sharing 2 projects. One is a miniature bedroom scene and another a simple clean mixed media layout with a tutorial. Do hop over to have a look.

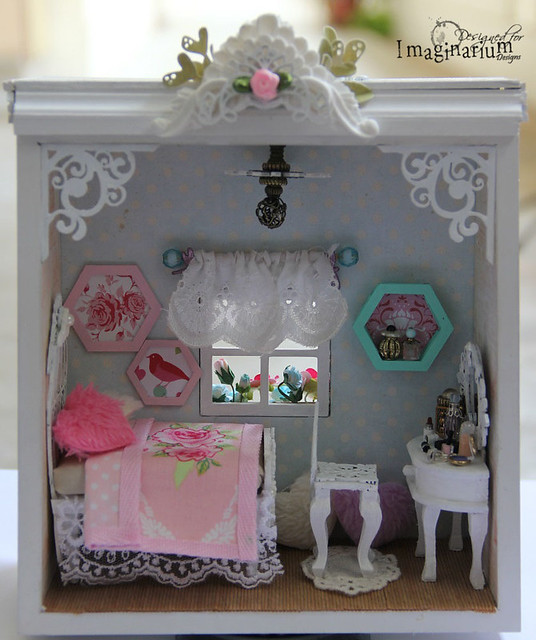
"Shabby Chic Bedroom"

"Shabby Chic Bedroom" Miniature

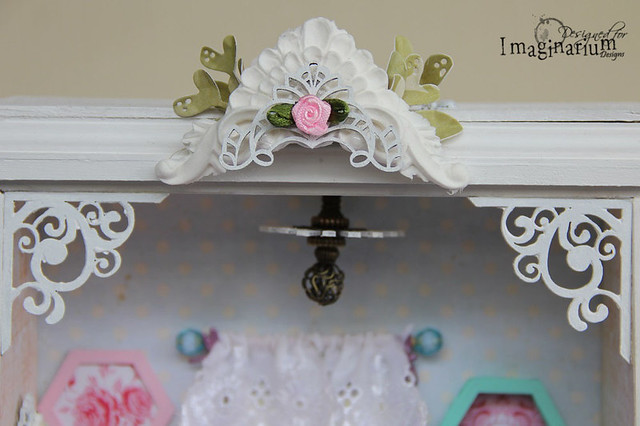
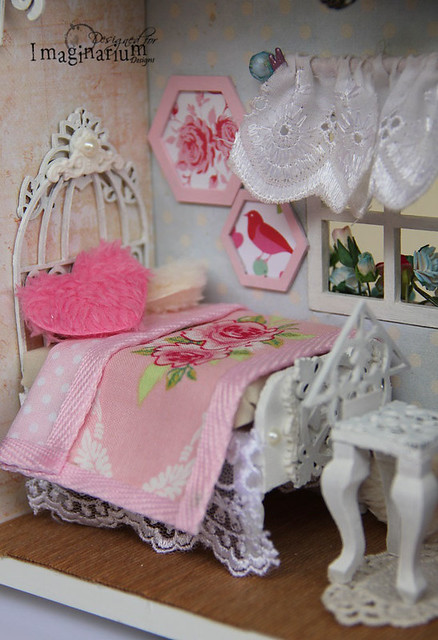
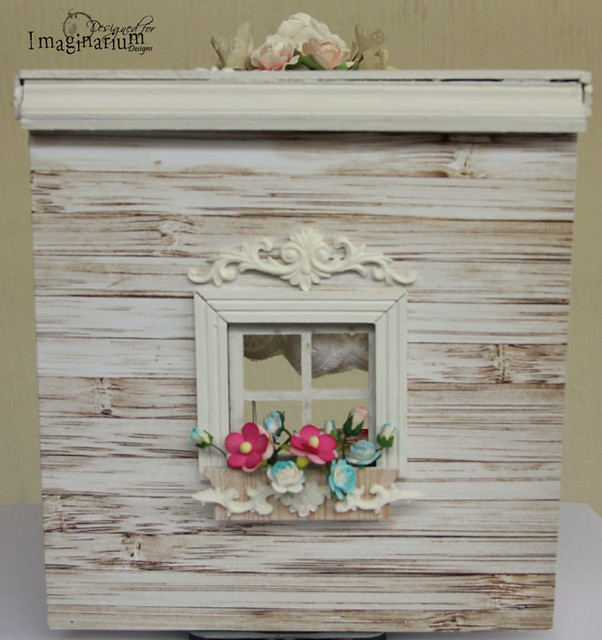
The idea for this bedroom scene came about when I experimented on the ceiling fan cum lights with Imaginarium Designs pinwheel chipboard and beads and a real miniature lighting. Yes.. this do lights up. I used quite abit of chipboards to make the furnitures. All except the table are diy from scratch. Do hop over to Imaginarium Designs blog to read the details and see more detailed pictures. Here's some of them:

"Shabby Chic Bedroom" Miniature

"Shabby Chic Bedroom" Miniature

"Shabby Chic Bedroom" Miniature

"Shabby Chic Bedroom" Miniature

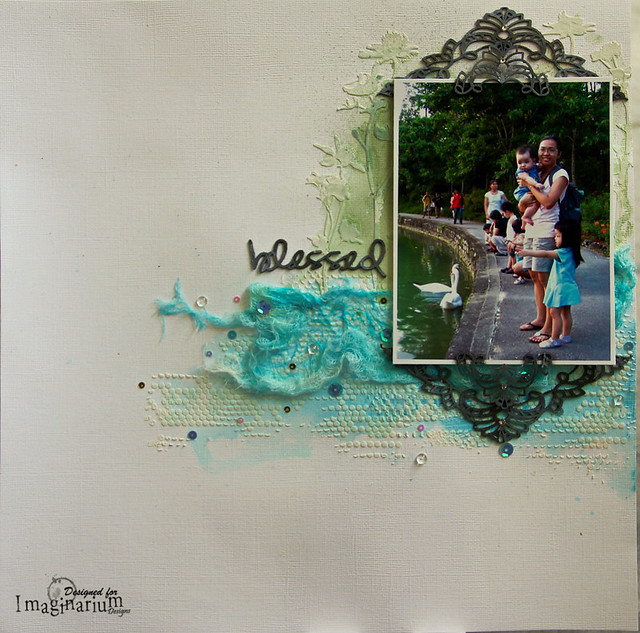
"Blessed" Layout

"Blessed" Layout

Done a simple, clean mixed media layout. I have shared a step by step tutorial over at Imaginarium Designs on how to create this layout.

Hope you enjoy my sharing. Do hop over now to Imaginarium Designs to see what I have shared. And do leave a comment to win a pack of chipboards. Have fun.

Thanks for dropping by.

Thursday, June 11, 2015

Imaginarium Designs - "Love you" Layout

Hi, I'm here today to share a DT layout I made for Imaginarium Designs. Absolutely love this month's mood board by Jodie York over at Polka Dot Creative.


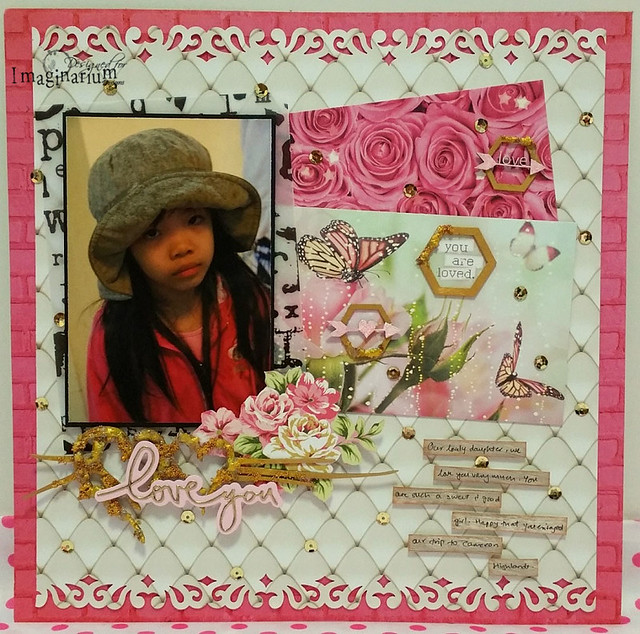
This month's theme is All About Girls. So I made a layout of my sweet girl. Love her so much.

"Love You" Layout

"Love You" Layout

When I saw the mood board I immediately thought of this photo and Webster's Page Beautiful Chic collection. Love how pretty and girly this collection is. And in my girl's favourite color, pink.

"Love You" Layout

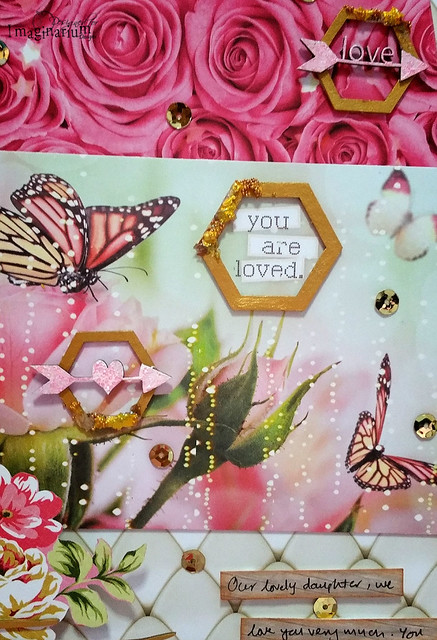
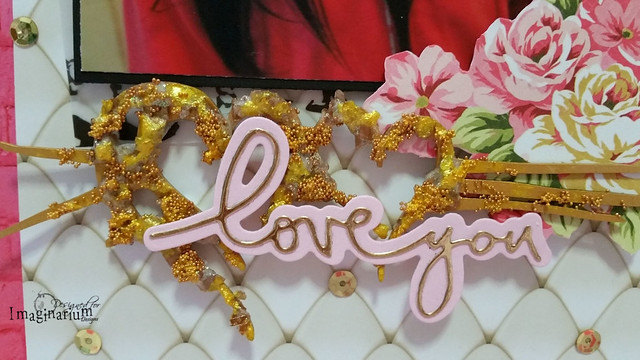
I wanted to make a simple layout and put the focus on the chipboards. I will be sharing a step by step tutorial below. So here's the close up pictures of them.

"Love You" Layout

And here's the step by step tutorial:

Step 1: Gesso over the chipboard arrows and watercolor with Chiffon Pink Twinkling H2O's.


Step 2: For the chipboard hearts and hexagons, I rubbed with Viva Decor Inka Gold - Gold.


Step 3: Create a mixture of mica flakes and Prima 3D gloss gel and spread on chipboards. Heat dry.


Step 4: Add some glitter glue randomly. And also adhered the chipboard arrows to the hexagons.


Step 5: Create another mixture of Prima 3D gloss gel and Prima copper microbeads and spread randomly on chipboards.


Step 6: Drip Daler Rowney Mazuma Gold Pearlescent liquid acrylic randomly on chipboards.


And here's the results:


I love exploring different mediums and creating textures. I hope you enjoy this simple tutorial.  Here's the chipboards I have used:


Here's a bonus project I made with Imaginarium Designs chipboards:
My decorated handphone casing.


This is a "holiday craft" I done with my girl. She decorated two ipod casing while I do my handphone casing. So fun.

I hope you enjoy my sharing. Do hop over to Imaginarium Designs to see what my fellow team mates had done and do leave a comment at Imaginarium Designs blog to stand a chance to win a pack of chipboards.

Have fun. Thanks for visiting.


Thursday, April 23, 2015

"S is for Sister.." Layout And A Tutorial

Hi, friends. Today at Imaginarium Designs, I will be sharing a layout and a video tutorial for another layout.

I love sweet shabby look. So the first layout I'm sharing is using papers from Lemoncraft and Prima flowers and of course, the main character, Imaginarium Designs chipboards!!

"S is for Sister" Layout


Recently after my hubby sorted all the photos in our computer, I realised that there are many many pretty photos that I can scrap with. Even photos that we had forgotten about. And this picture is one of them. Both my kids are so adorable and sweet. LOL... I know, I'm thickskinned and bias when come to my kids. LOL.


For my second project, I made a video tutorial for a layout that I shared earlier in Imaginarium Designs. Here's the picture of the layout:


Please go over to Imaginarium Designs to read the details and view the video tutorial of both my projects. And do leave a comment at Imaginarium Designs blog to win a pack of chipboards.

It's my first video tutorial that I recorded and edited by myself. And this is after a whole day of training given by my talented brother, who just graduated from filming studies. LOL.. so please be kind to me and give some constructive comments.

Thats all for today. Thanks for dropping by.

Tuesday, December 23, 2014

"Fairy Garden Teapot - A Moment In Time"

Merry Christmas to all my friends!! Its a busy busy season for me and my family. Presents to buy and wrap, rehearsals to go to for our church's performance and tons of projects to do. But all are joyful and blessed tasks.

Today I want to share a project that's been on my to-do list for the longest time: a fairy garden. It started out with the gifting of the rusted "luggage box" from my dear friend. Thanks, Elaine! Have you ever had a moment in time when you wish you are living in a different world? Well, I have. In the world of little fairies. And this is how the title, "A Moment In Time" came about.

"Fairy Garden Teapot"


I torn out parts of the front of the box to make into a "cave-like" opening. Painted the box brown, added some darker brown paint, some texture paste, glass bead gel at torn edges.

Never did I plan to convert the box into a teapot. Its only while I was thinking how to hide the battery box of the "water-like" lights that the teapot idea dawned on me. Yup.. there's lights.


I adhere Prima paper behind and added a few painted chipboard leaves. For the base, I adhere assorted Woodlands Scenic fine turf, pebbles with Scenic Cement glue, added some diecut leaves, some plastic leaves. I also glue down 2 felted mushrooms that I made months ago.

For the handles, I drawn and cut down several pieces from chipboards and layered them. Then I added diecut swirls (Sizzix die) unto the handle before I go over with gesso and brown paint.

For the teapot sprout, I use a toilet roll core, added Prima paper inside. After that I snip twice on one side, glued together (to make one end smaller). Then I cover the core with gauze and thick layers of gesso (thus making my own "plaster") before paint it brown. Added another piece of cardstock inside the core at the bigger opening and snip out flaps. 


Then I adhered the sprout to the box.


I diecut this piece out and wrap around the sprout to cover the white flaps.


For the handle, I glue down the 2 flaps at the end before screwing it in.
Here's the finished result with vines and leaves added.


For the sprout, I also added in a lid made out of diecut round chipboard and tiny hinges and screws. And I hide the battery box inside. This sprout covered the original small opening for the rope handles (which I discarded). So its through this small opening that I inserted the wires connecting the battery box and the lights. When I want to switch on the lights, I just pull out the battery box and switch it on.


I twine vines and added plastic plants unto the handle too.


To decorate the garden, I added Dusty Attic chipboard branches and twine around with vines. Love how it blend together.


Also added Imaginarium Designs chipboard frame, gear and phrase chipboards as the title. Added Viva deco Inka Gold - Silver to the gear and frame. And painted the phrase chipboard black before add black glitter paint. Added a broken piece of the Dusty Attic branch chipboard to the bottom.


I adore this polymer clay doll. Bought it from this etsy shop, Fantasia Creations. Love her dolls!!! Have bought a few more. yeh... more projects to do. The bird nest is bought in a Johore Bahru wedding accessories shop. I'm so going back to get more now.


Here you can see the 2 felted mushrooms that I made. Its been some time since I felted anything. Maybe I should take them out to do again. Fun!!


I hope you enjoy my project and a little tutorial on how to do the handle and sprout. Hope you are inspired to make one yourself. Its not difficult at all. And through this project, I learned creative way to hide the battery box. Thankful!! :)

Well, thanks for dropping by. And do come by often. Merry Christmas and Blessed New Year!