
"The Repair Shop"
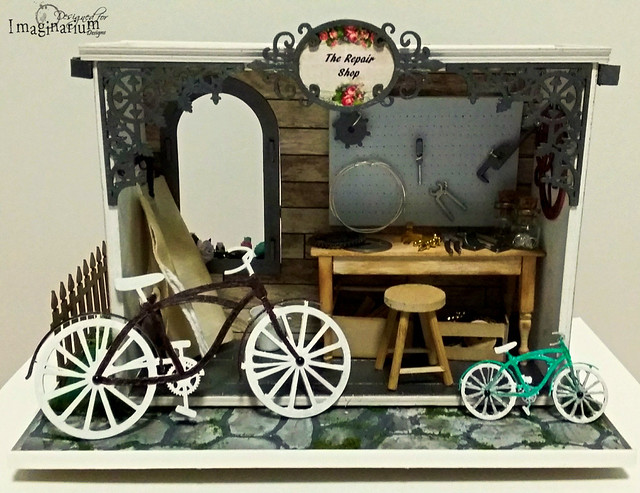
Inspired greatly by the chipboard windows, bicycles and the gears, I made a miniature repair shop. Today I will share on how to make the base and main body of shop.


I used a S$2 Daiso white wooden box (that's hollow base) for the main body of shop. Then I cut a piece of cardboard, cover with patterned paper and cut out the space for the chipboard windows and adhere to the box. After which I cover the sides with brick patterned papers.


For the floor in the shop, I scored strips of kraft papers, rub over with graphite Viva Decor Inka Gold, then arranged and adhered down to floor. Note that I added a thin strip of wood to widen the floor space abit (painted the wood strip white before adhere).


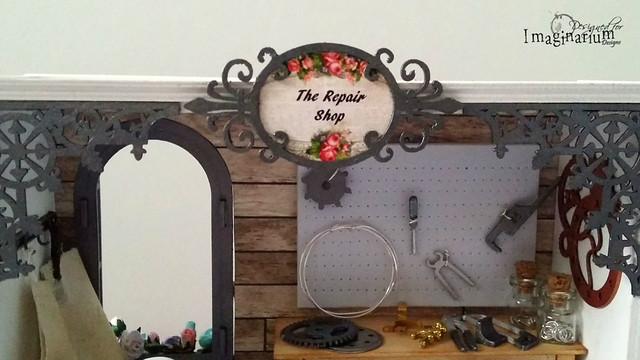
For the chipboard windows, gears, corners, frames and the diecut tools (glued about 7 layers of diecut kraft papers), I colored them with Viva Decor Inka Gold-Graphite, Silver and Bronze.
I made the table from wood sheet and strips and wooden decorative legs and inked randomly with distress ink to give it a dirty look. For the peg board, I cut from a foam sheet, used piercer to poke holes and twist wires around the tools to hang them on the peg board. And they can be removed easily. I made the kraft tool boxes (below the table) from scratch too.
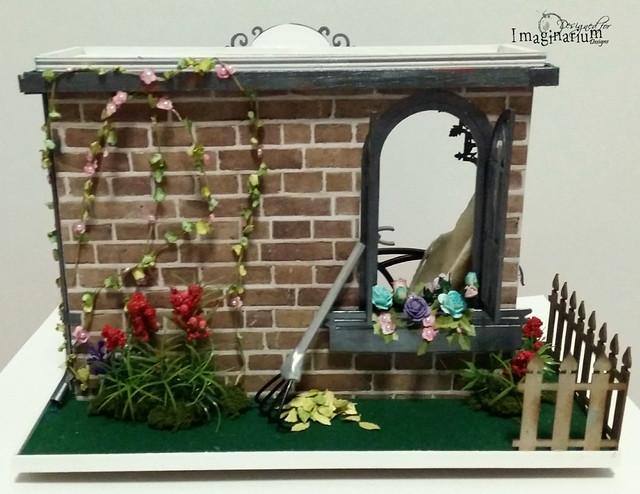
Here's some pictures of the miniature shop:
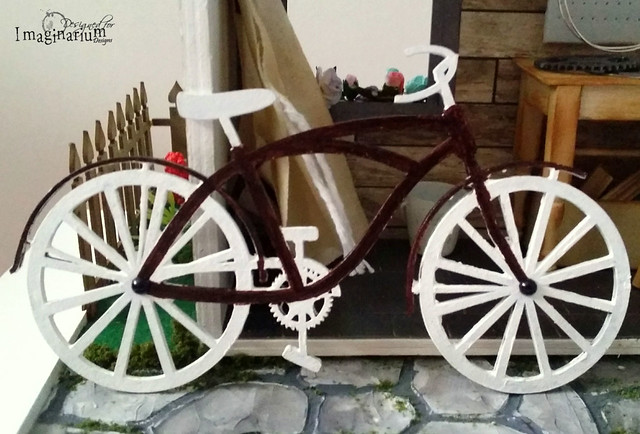
For the chipboard bicycles, I painted them white, then go over certain parts with Sharpie pens and added black half pearls at centre of wheel.
For more pictures of the whole shop, do hop over to Imaginarium Designs to have a look. I will be sharing more picture tutorials and details of this miniature shop in the next few days. Do stay tuned.
Here's the chipboards I used for the miniature shop:


(Used both big and small bicycles)

If you are interested to buy these yummy chipboards, do go over to Seriously Scrapbooking to get them.
Do hop over to Imaginarium Designs to look at more pictures of my project. And do leave a comment to win a pack of chipboards. Have fun. Thanks for dropping by.
No comments:
Post a Comment