Hi, everyone. I'm back from a family trip to Korea. Very fun trip and we enjoy ourselves. But after we landed in Singapore, my son fell sick and we had to spend half a day in hospital and sleepless night taking care of him. Had high fever due to virus, showed signs of dehydration (high heart rate and lethargic) due to loss of water through his skin (due to high fever). But thankful we are back in Singapore and the doctors and nurses took good care of him. Now he still nursing a fever but his heart rate had become normal. So today as I wrote this post, I wrote from a tired mum's perspective. Ha ha.. so if I had any typo error, please do forgive me.
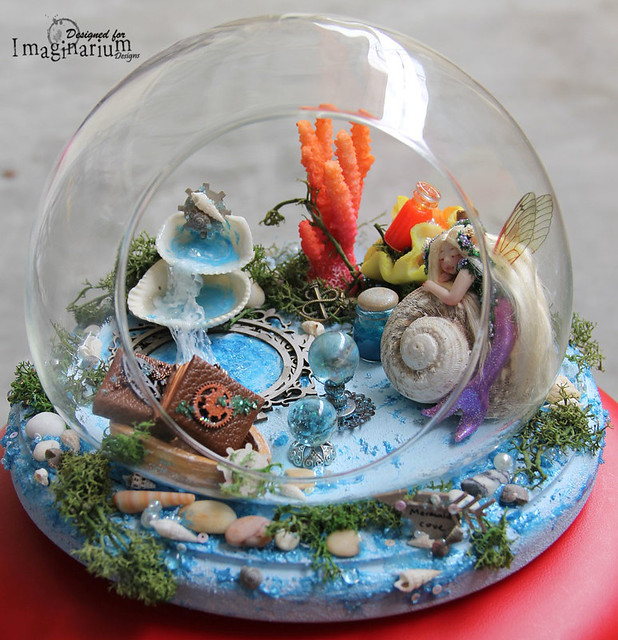
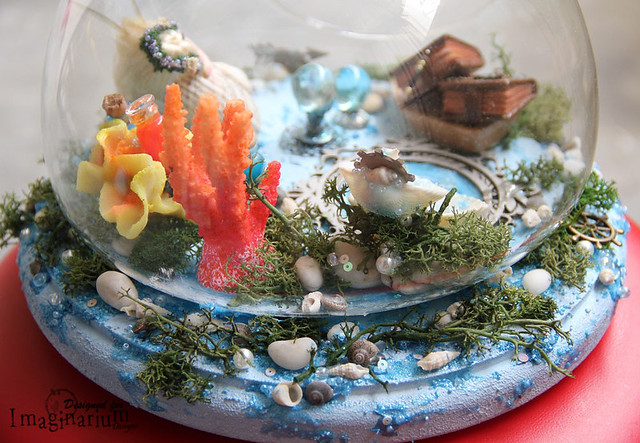
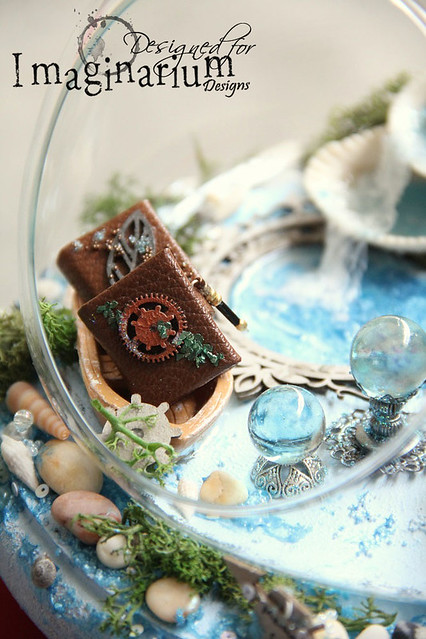
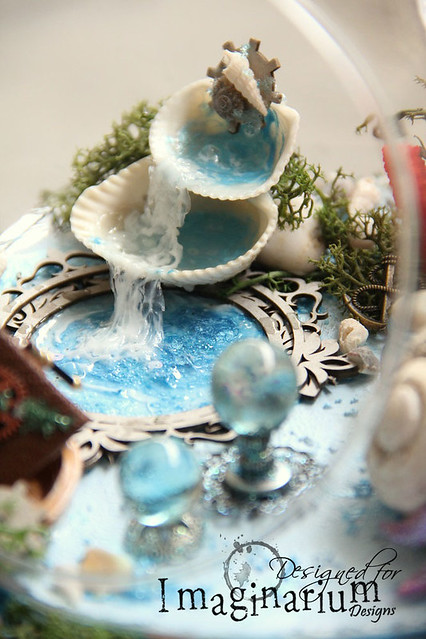
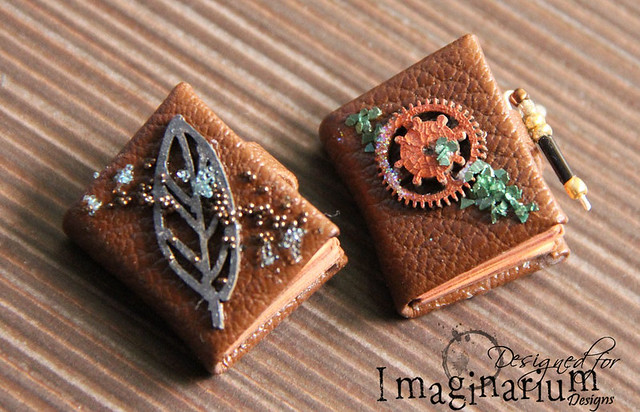
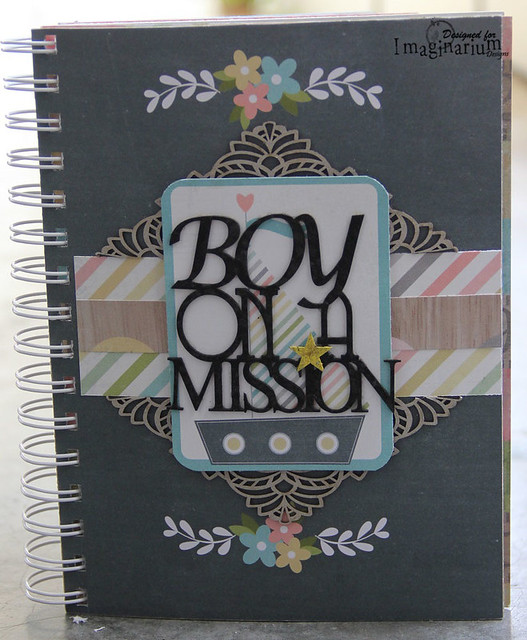
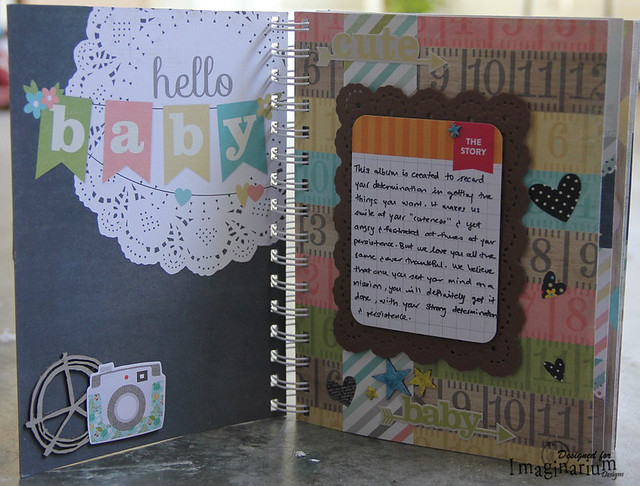
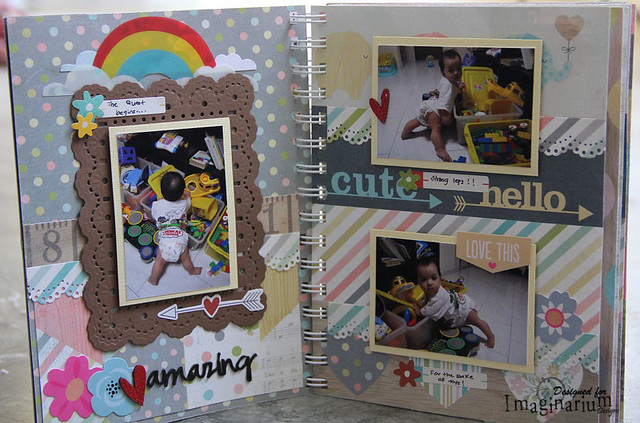
Today I want share 2 projects (tho late post) over at Imaginarium Designs. Made a mini album and a mermaid cove miniature. For more details, do hop over to Imaginarium Designs blog. Here's some pictures of my projects.
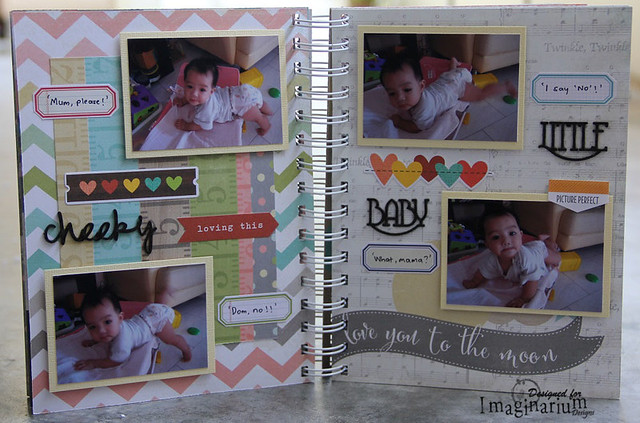
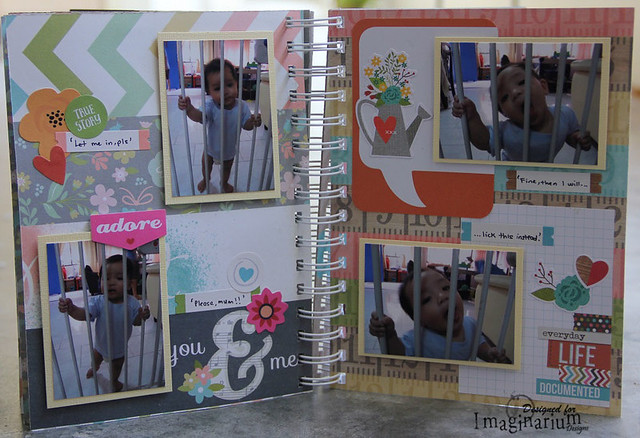
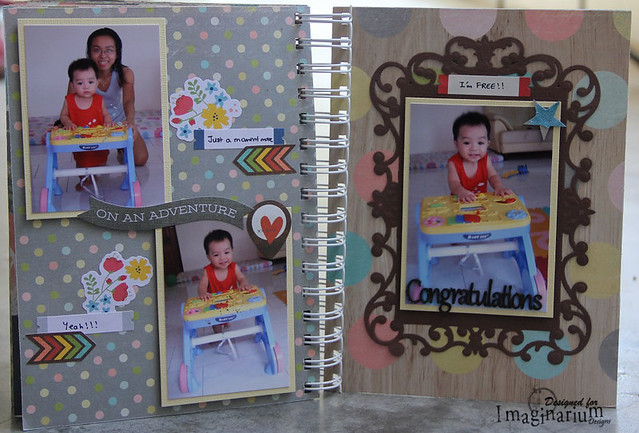
"Boy On A Mission" Mini Album
"Mermaid Cove" Miniature
For more pictures and details, do hop over to Imaginarium Designs and leave a comment to win a pack of chipboards. Thanks for dropping by.
Sunday, December 27, 2015
Friday, December 11, 2015
Festive Mood at Imaginarium Designs
Hi, everyone. Here I am again. Sharing 3 Christmas cards over at Imaginarium Designs.
"Nutcracker Christmas" Cards
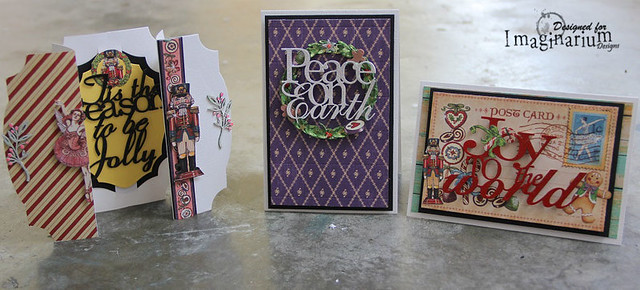
I love Graphic 45 Nutcracker collection. So I made all 3 cards with it.
"Tis The Season To Be Jolly"
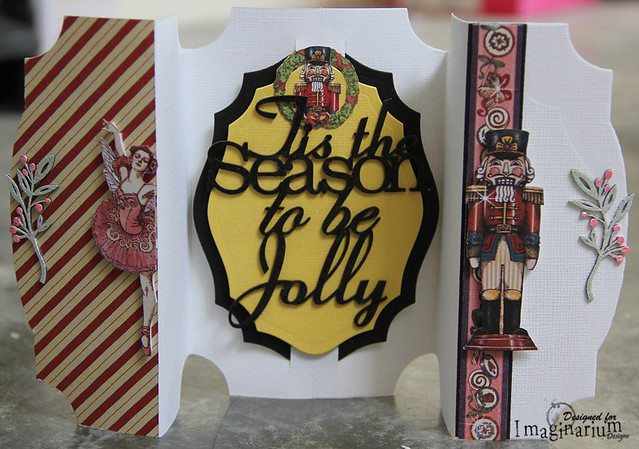
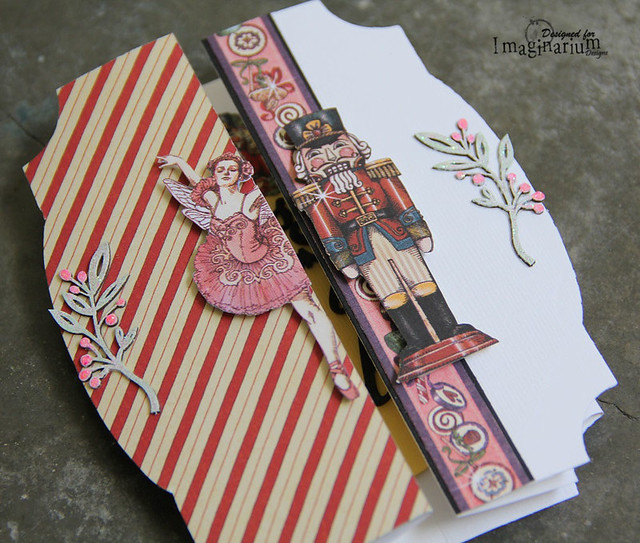
Using Sizzix die, I created this fold-a-long card. Painted the chipboard title with black glitter paint (can't see the glitter well in this picture) and placed it inside the card as sentiments. Cut out the nutcracker and ballerina and pop them up with foam tape. Gesso the Kerri Flourish chipboards and painted them with Twinkling H2O watercolors.
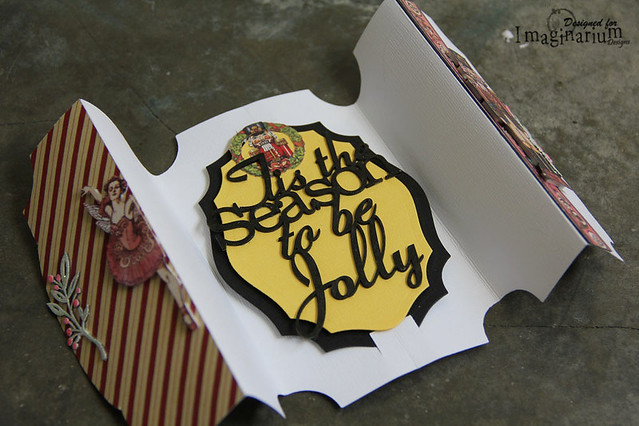
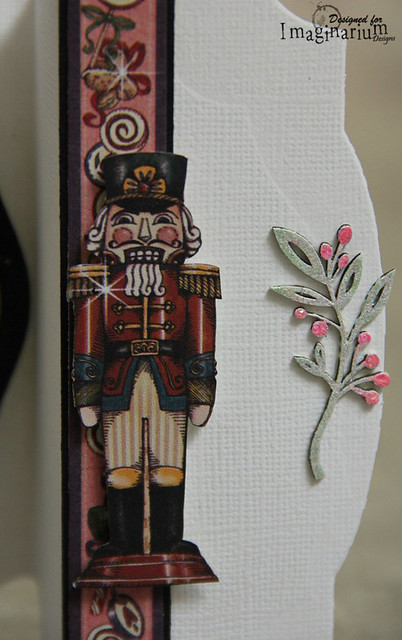
Here's how it look like when the card is closed. I love how the nutcracker and ballerina met in the middle.
"Joy To The World"
I mat the G45 postcard cutout with black cardstock, adhered a stamp I cut out and stamped with postal icon stamps. Added the small gingerbread man and nutcracker cutout. Painted the chipboard title with red glitter paint and added a candy cane cut out on the Joy word.
To create a more 3D look, I pop up the chipboard title with foam tape.
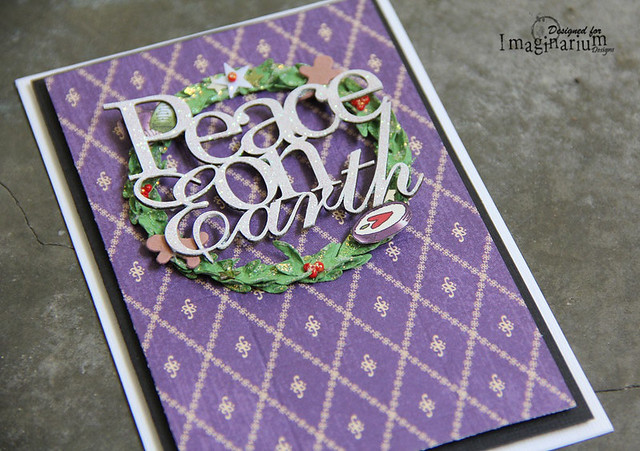
"Peace On Earth"
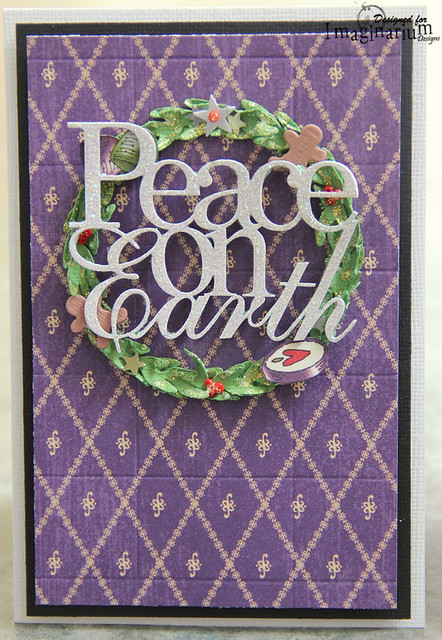
I love this purple paper. So I scored lines on it to make it look like a cushioned wall panel and mat in with black cardstock.
Using a wreath dies, I cut out and layered 3 pieces of the wreath, folded the leaves and added glitter to it. Also added some sequin stars and red seed beads and some cutouts on the wreath. Painted the chipboard title white and added glitter. Then I pop it up on the wreath with foam tape too. Love 3D stuff.
Here's the chipboards I have used:
Hope you are soaked in the festive mood now. Do hop over to Imaginarium Designs to see what my fellow talented team mates had created. Do leave a comment too to win a pack of chipboards. Have fun.
Thanks for dropping by.
"Nutcracker Christmas" Cards
I love Graphic 45 Nutcracker collection. So I made all 3 cards with it.
"Tis The Season To Be Jolly"
Using Sizzix die, I created this fold-a-long card. Painted the chipboard title with black glitter paint (can't see the glitter well in this picture) and placed it inside the card as sentiments. Cut out the nutcracker and ballerina and pop them up with foam tape. Gesso the Kerri Flourish chipboards and painted them with Twinkling H2O watercolors.
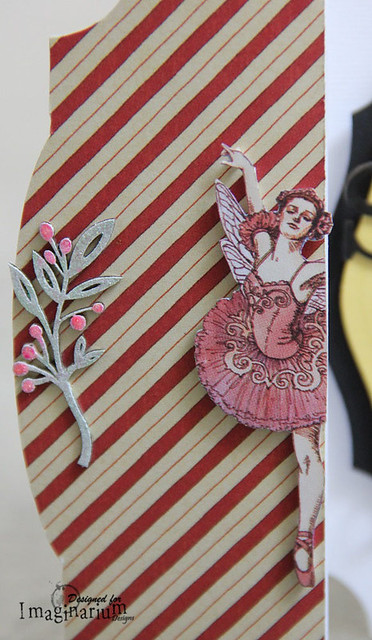
Here's how it look like when the card is closed. I love how the nutcracker and ballerina met in the middle.
"Joy To The World"
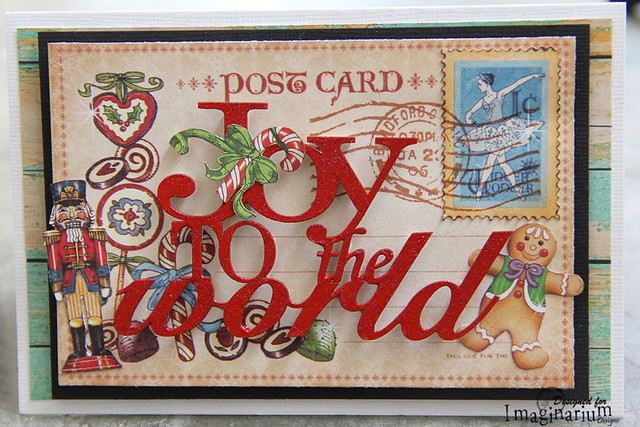
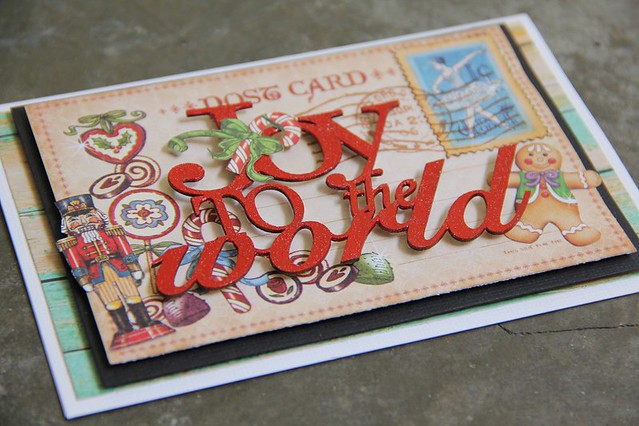
I mat the G45 postcard cutout with black cardstock, adhered a stamp I cut out and stamped with postal icon stamps. Added the small gingerbread man and nutcracker cutout. Painted the chipboard title with red glitter paint and added a candy cane cut out on the Joy word.
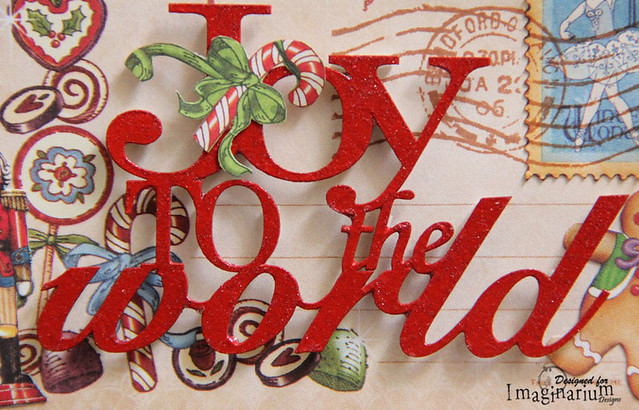
To create a more 3D look, I pop up the chipboard title with foam tape.
"Peace On Earth"
I love this purple paper. So I scored lines on it to make it look like a cushioned wall panel and mat in with black cardstock.

Using a wreath dies, I cut out and layered 3 pieces of the wreath, folded the leaves and added glitter to it. Also added some sequin stars and red seed beads and some cutouts on the wreath. Painted the chipboard title white and added glitter. Then I pop it up on the wreath with foam tape too. Love 3D stuff.
Here's the chipboards I have used:
Hope you are soaked in the festive mood now. Do hop over to Imaginarium Designs to see what my fellow talented team mates had created. Do leave a comment too to win a pack of chipboards. Have fun.
Thanks for dropping by.
Thursday, December 10, 2015
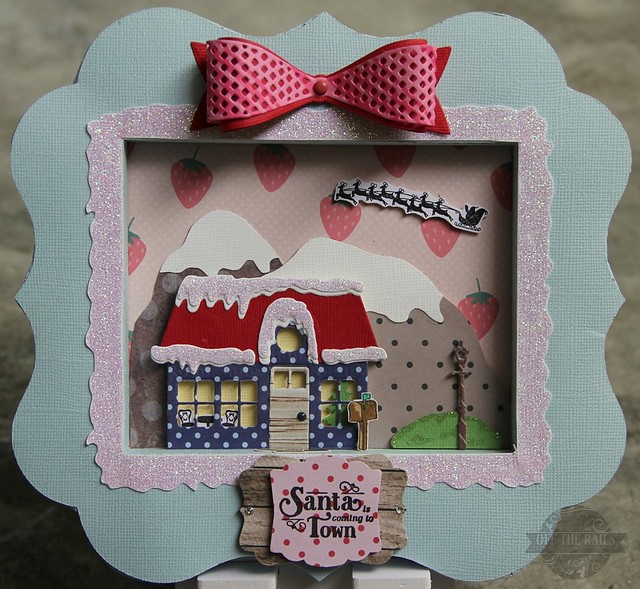
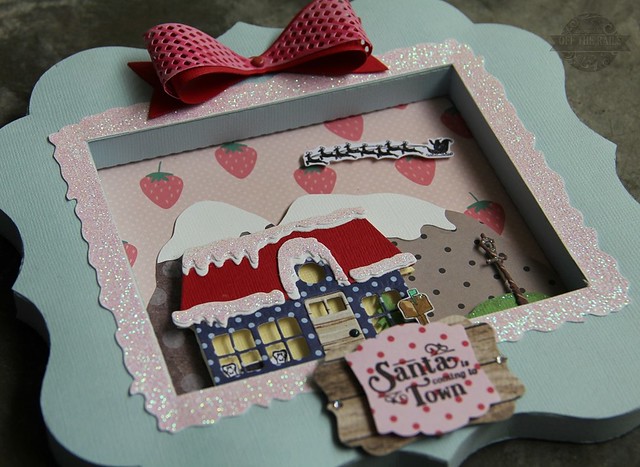
"Santa's Coming To Town" Shadow Box Frame
Hi, everyone. Today at Off The Rails Scrapbooking, I'm sharing my project. I really love this month's challenge mood board. So I made a miniature scene again.
Here's the mood board:
And here's my project:
Combining different stamps and dies sets, I created this Christmas scene inside the scallop shadow box frame, cut out with Silhouette Cameo.
Do head over to Off The Rails Scrapbooking for more details.
I will be travelling for family vacation in the coming week and only be back after Christmas. So here I wish everyone a Blessed Christmas and an early Happy New Year. Have fun and enjoy the family time together this Christmas.
But please don't forget to check out this month's mood board challenge and join us to stand a chance to win the yummy prize from Charms Creations.
Have fun. Thanks for dropping by.
Tuesday, December 1, 2015
Christmas Mood at Off The Rails Scrapbooking
Hi, everyone. Time really flies. It's the last month of the year already. Christmas is 25 days away. At Off The Rails Scrapbooking, we kick off December with a Christmas mood board.
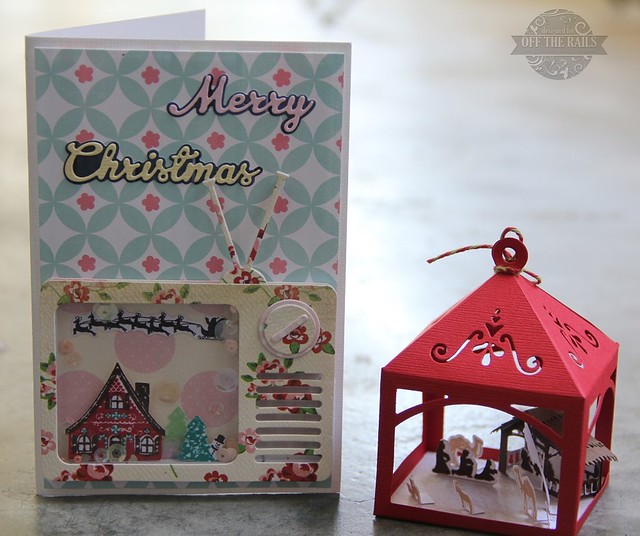
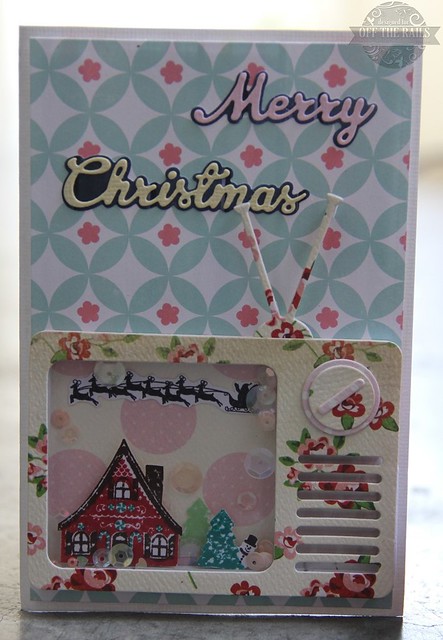
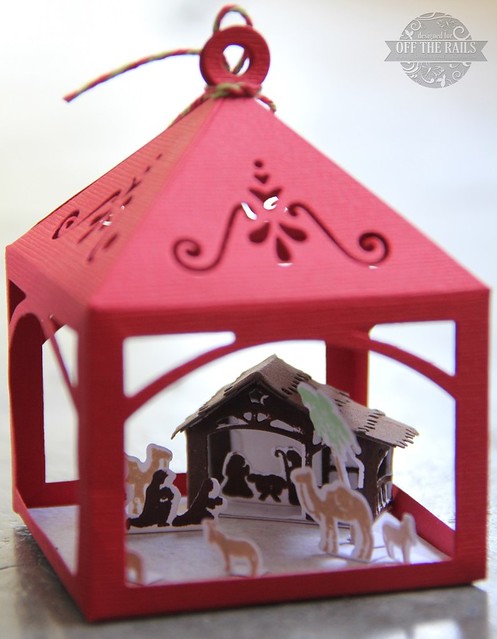
Love the sweet pastel colors and the snowy village!! So I made a shaker card and a miniature lantern with a miniature scene.
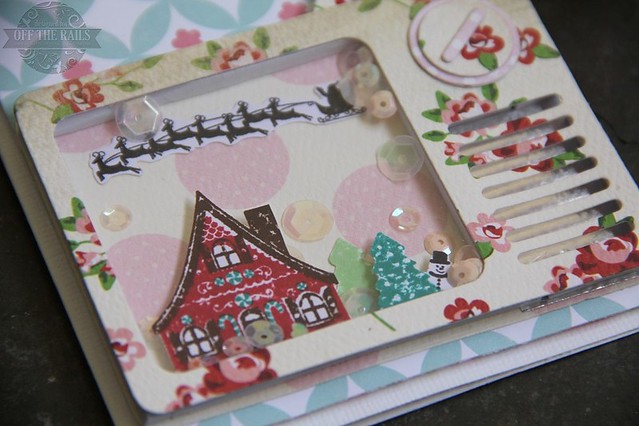
The TV shaker diecuts are Simonsays dies and the rest of the miniature scene are done with Papertreyink stamps and dies (Petite places). Love how tiny and detailed the stamps are.
Love the house, snowman and Santa!!! I pop up the TV (front) with foam n added sequins, beads for the shaker effect.
I used MISTI tool to stamp all the miniature scene in this lantern after diecut them out. Using the MISTI tool is so much more easier and accurate then using acrylic block only. Most important is there's no mistake!! Hee...
I hope you enjoy my sharing. Do pop over to Off The Rails Scrapbooking to join in this month's challenge.
Have fun. Thanks for dropping by.
Monday, November 23, 2015
Imaginarium Designs : Shabby Chic projects
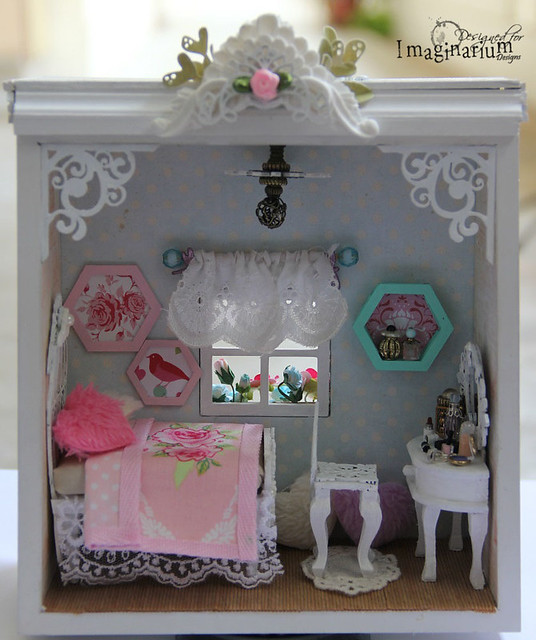
Hi, everyone. Today over at Imaginarium Designs, I'm sharing 2 projects. One is a miniature bedroom scene and another a simple clean mixed media layout with a tutorial. Do hop over to have a look.
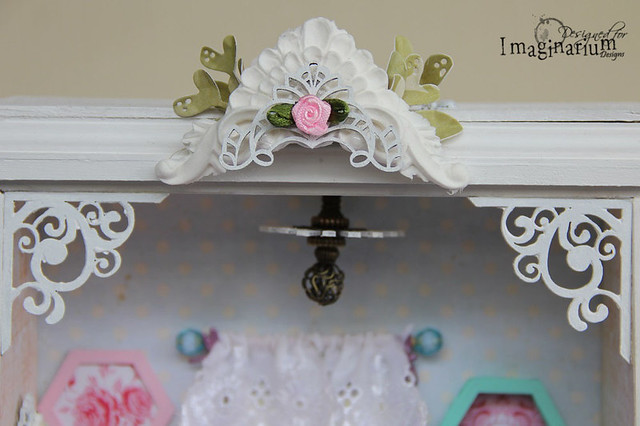
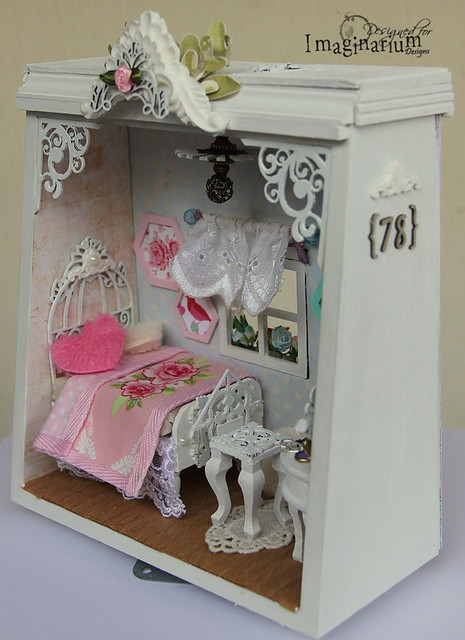
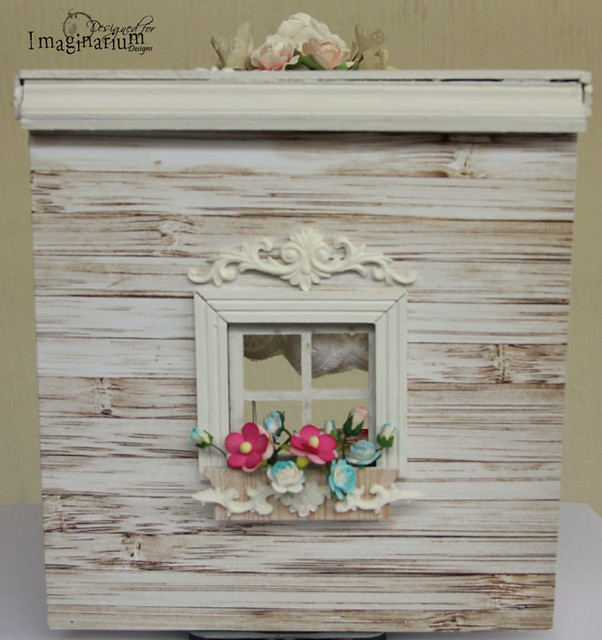
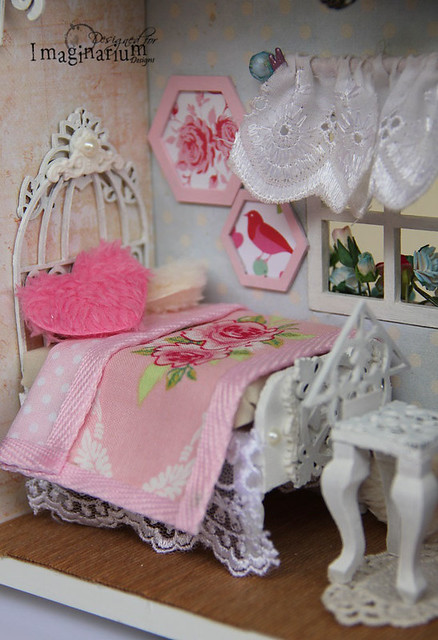
"Shabby Chic Bedroom"
The idea for this bedroom scene came about when I experimented on the ceiling fan cum lights with Imaginarium Designs pinwheel chipboard and beads and a real miniature lighting. Yes.. this do lights up. I used quite abit of chipboards to make the furnitures. All except the table are diy from scratch. Do hop over to Imaginarium Designs blog to read the details and see more detailed pictures. Here's some of them:
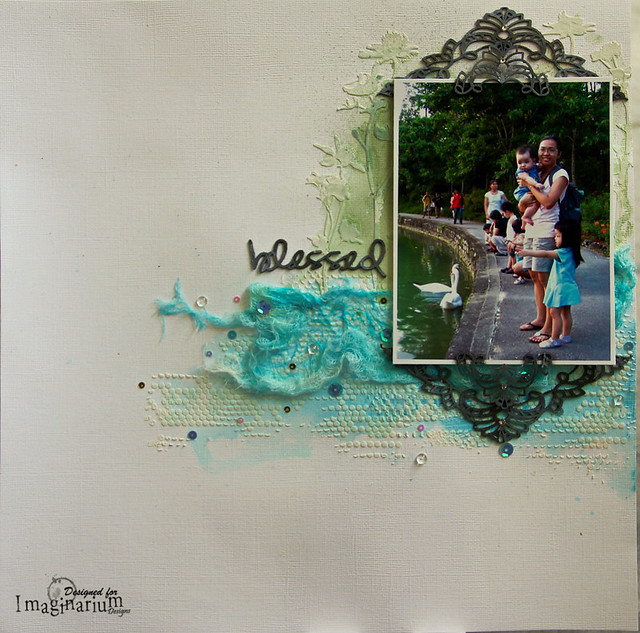
"Blessed" Layout
Done a simple, clean mixed media layout. I have shared a step by step tutorial over at Imaginarium Designs on how to create this layout.
Hope you enjoy my sharing. Do hop over now to Imaginarium Designs to see what I have shared. And do leave a comment to win a pack of chipboards. Have fun.
Thanks for dropping by.
Saturday, November 21, 2015
Off The Rails Scrapbooking : "Cute Toy" Layout
Hi, everyone. Been really busy this month!! Projects to rush, orders to get out, my girl's party to plan and create. So much so that I forgot to share about this month's mood board challenge at Off the Rails Scrapbooking.
Here's the mood board:
And this month's sponsor is Imaginarium Designs. Being part of both Off The Rails Scrapbooking and Imaginarium Designs DT, I created a layout using Imaginarium Designs chipboards with the above mood board.
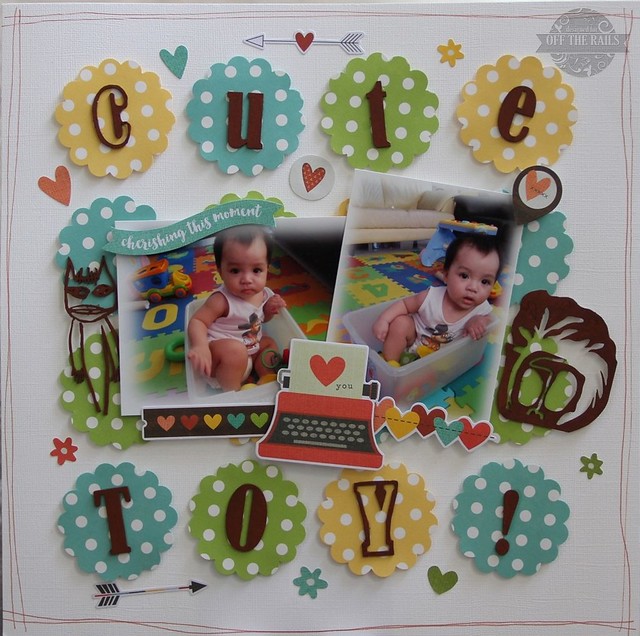
"Cute Toy"
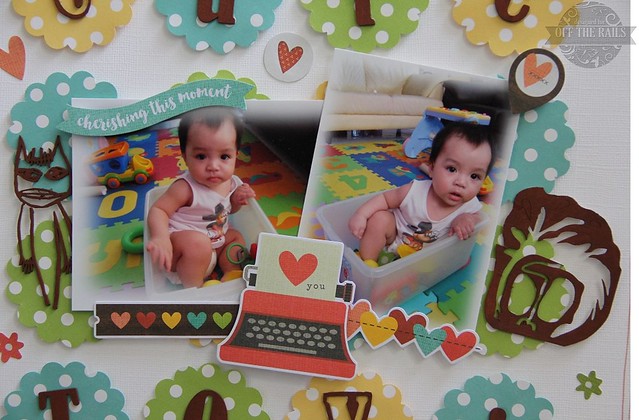
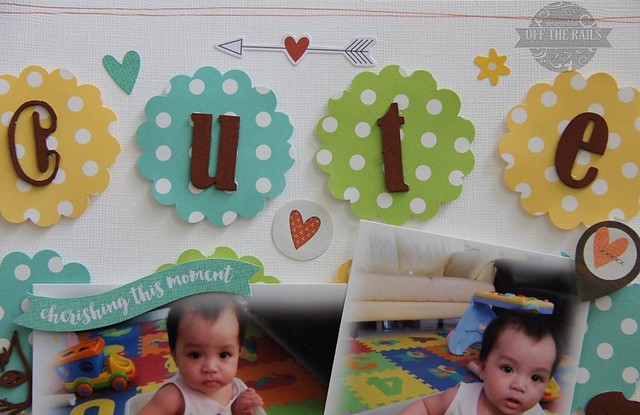
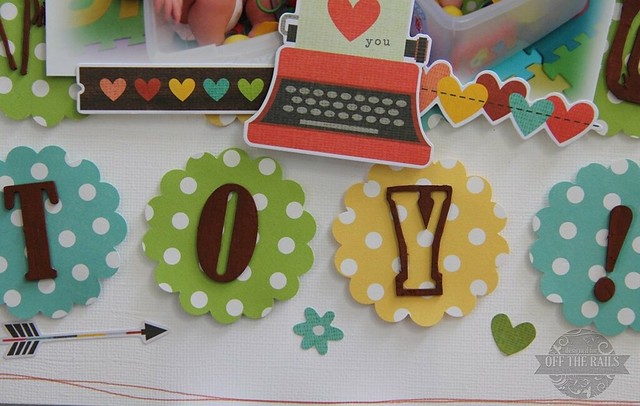
I created a clean and simple layout. You can see that I simply just use punched scalloped circles as background. I pop them up with foam tapes. Added ephemera, stickers and Imaginarium Designs chipboards. I painted the chipboards with brown acrylic paints. I love to keep and use chipboard negatives. The letter, "C" and "Y" and one figure (on the right) are cut out from the negatives as I already used up the positives.
Love these photos of my boy when he's still a toddler. My girl and my boy love to sit inside boxes of toys. Maybe its easier to get toys?? So I gave the title of this layout "Cute Toy". Aren't my boy the cutest toy in the toy box??
These are the Imaginarium Designs chipboards that I have used:
I hope you are inspired by my sharing. Do try out adding chipboards to your projects.
Please join us in our monthly mood board challenge over at Off The Rails Scrapbooking. Have fun.
Thanks for dropping by.
Here's the mood board:
And this month's sponsor is Imaginarium Designs. Being part of both Off The Rails Scrapbooking and Imaginarium Designs DT, I created a layout using Imaginarium Designs chipboards with the above mood board.
"Cute Toy"
I created a clean and simple layout. You can see that I simply just use punched scalloped circles as background. I pop them up with foam tapes. Added ephemera, stickers and Imaginarium Designs chipboards. I painted the chipboards with brown acrylic paints. I love to keep and use chipboard negatives. The letter, "C" and "Y" and one figure (on the right) are cut out from the negatives as I already used up the positives.
Love these photos of my boy when he's still a toddler. My girl and my boy love to sit inside boxes of toys. Maybe its easier to get toys?? So I gave the title of this layout "Cute Toy". Aren't my boy the cutest toy in the toy box??
These are the Imaginarium Designs chipboards that I have used:
Please join us in our monthly mood board challenge over at Off The Rails Scrapbooking. Have fun.
Thanks for dropping by.
Thursday, November 12, 2015
Imaginarium Designs - Monochromatic
Hi, everyone. Today over at Imaginarium Designs I shared a layout I made. This month's theme is Monochromatic Layouts. So far I have done black & white, pink, green monochromatic layouts. So this round I dig my photos and found blue themed photos of my kids.
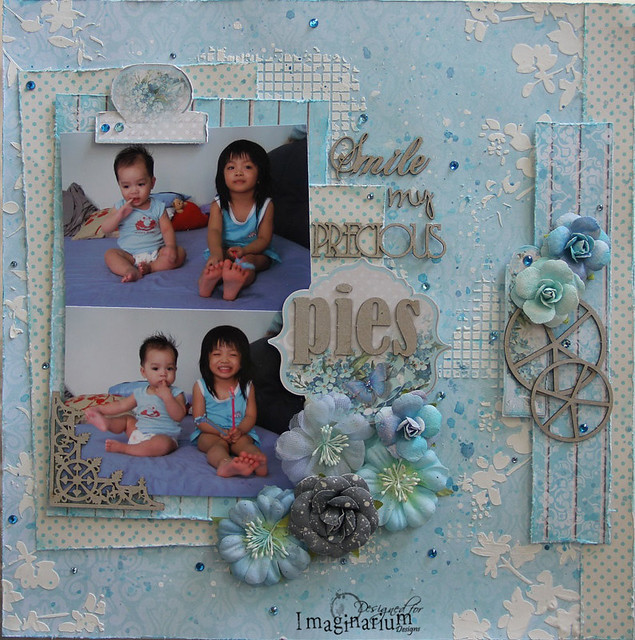
"Smile, My Precious Pies"
For this layout, I spread texture paste over stencils, sprinkled some mists splatters randomly across. Distressed the papers with Prima distress tool and ink with blue distress ink. Then I pop them up with foam tape. Left the chipboards all raw. And added flowers and crystals.
Love how cute my kids are. Hee.. I purposely used the title "pies" and the piechart chipboards. I always call my kids cutie pies and juicy pies!!! And thought of this title for this layout. LOL...
Here's the chipboards I used:
Thanks for visiting my blog. Do hop over to Imaginarium Designs to see what my other team mates had made. Have fun.
"Smile, My Precious Pies"
For this layout, I spread texture paste over stencils, sprinkled some mists splatters randomly across. Distressed the papers with Prima distress tool and ink with blue distress ink. Then I pop them up with foam tape. Left the chipboards all raw. And added flowers and crystals.
Love how cute my kids are. Hee.. I purposely used the title "pies" and the piechart chipboards. I always call my kids cutie pies and juicy pies!!! And thought of this title for this layout. LOL...
Here's the chipboards I used:
Subscribe to:
Posts (Atom)