Hi, thanks for dropping by these few days. For those who are new to my blog, please go to
Imaginarium Designs to see my project pictures. Today I want to share about the "soft" and small elements of the miniature shop.
Hanging on the side of the shop are 2 aprons. I diecut fabric with this Marianne Designs apron die. Didn't add in the pocket as its too feminine. I trim down the apron as its too long to fit in.
Added string and leather cords to the aprons and distress with distress ink to give them a dirty and oily look. The miniature metal hook on the wall is bought and nailed in.
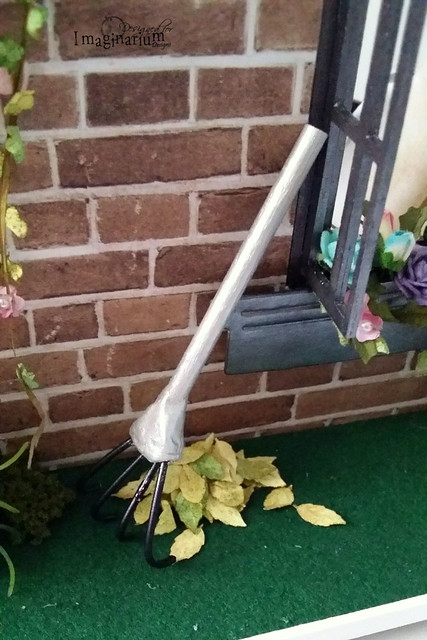
I made this rake from scratch too. Using a round wood strip and clay and some black wires. I experimented afew designs and finally decided on using this. Again I used Viva Decor Inka Gold-Silver for the handle of the rake.
Ok. These are ugly rakes.
For the pile of leaves, I punched out the leaves then distress them w distress inks, twist and fold abit with tweezer. Then one by one I added beacon glue and adhere into a pile unto the felt grass patch.
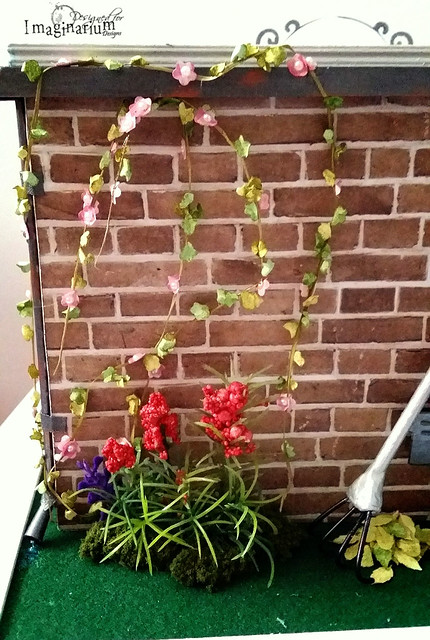
I made the flower vines from scratch too.
For the flower vines on the wall, I pulled thin strips of this raffia( bought from Artfriend) and use this as the vine.
With this Sizzix die, I diecut out many tiny flowers with pink paper and leaves with green paper. Both flower and leaf are done using this same die.
For the flowers, I adhered tiny half pearls in the middle. For the leaves, I crumbled them piece by piece and distress with distress inks.
After dripping glossy accent along the raffia, I used the raffia to pick up the flowers and leaves. Hence the vines become very natural looking. After letting the glossy accent dry overnight, I adhered the vine to the wall.
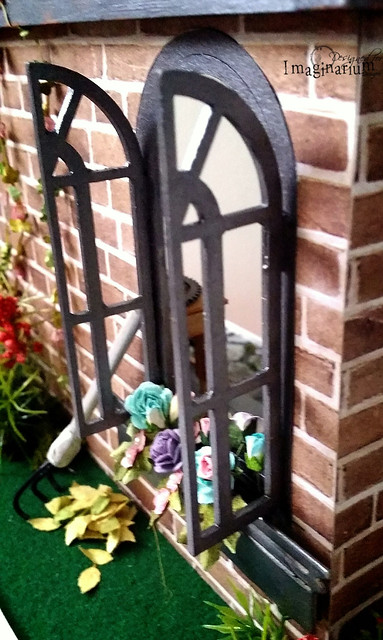
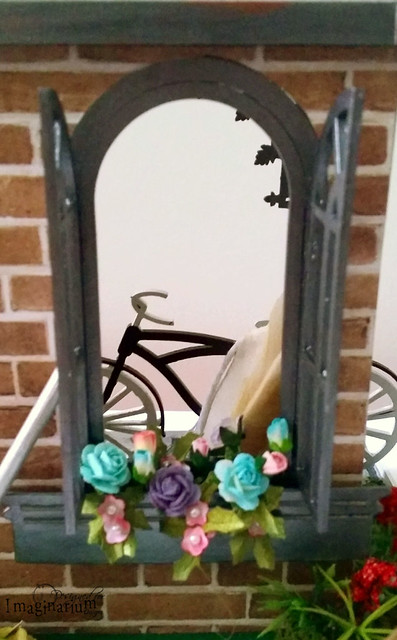
I also used the same pink flowers and some diecut leaves (distress with distress inks too and crumbled with tweezers) in the flower box. The flower box is made using Sizzix/Tim Holtz Window die (only use the flower box part) then pop up with foam strips.
I added some bought flowers and moss on the ground to create a more complete garden look.
Here's the picture of the finished product again:
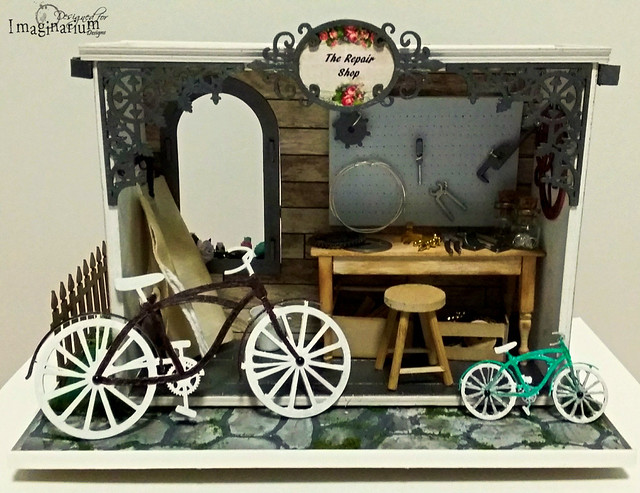
Front of Shop
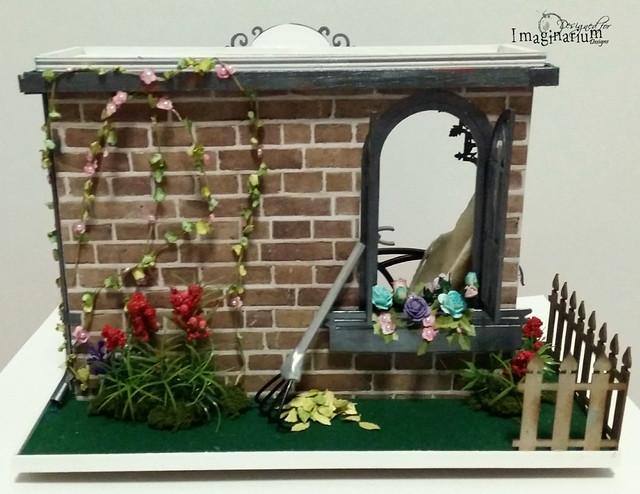
Back of shop
Hope you have enjoyed my 3 days of sharing for this project. Do try out some of the techniques I shared. Have fun.
Do hop over to
Imaginarium Designs to see what my fellow team mates have created and leave a comment to win a pack of chipboards.
Thanks for visiting.


No comments:
Post a Comment